Swift 并发:实战迁移一个示例 App
Swift concurrency: Update a sample app
2021年6月9日
一句话判断
这场 Session 用一个真实的照片浏览 App,手把手演示了从 completion handler 地狱到 async/await 的完整迁移过程——比看十篇博客都管用。
这场 Session 讲了什么
Session 拿一个叫 “Earthquakes” 的示例 App 开刀,展示如何把一个基于 completion handler 和 DispatchQueue 的网络请求代码迁移到 async/await。整个过程不是简单的语法替换,而是重新组织了数据流和错误处理的逻辑。
演示分为几个阶段:先把独立的网络请求函数从 completion handler 改成 async,然后处理并发的多个请求(用 async let),接着把数据模型的同步缓存改成 Actor 隔离的异步缓存,最后在 UI 层用 @MainActor 确保线程安全。每个阶段都展示了迁移前后的对比,以及常见陷阱——比如忘了在 async 上下文中加 try 就编译不过。
Session 还展示了 Xcode 的新功能:当你把一个函数标记为 async 时,编译器会自动提示所有调用点需要加 await,这大幅降低了迁移时的遗漏风险。
值得深挖的点
withCheckedThrowingContinuation 是你的迁移桥梁
迁移最大的痛点不是新代码,而是和旧代码的衔接。你的网络库可能还是 completion handler 接口,第三方 SDK 更是如此。withCheckedThrowingContinuation 让你在 async 函数里包装 completion handler 调用。它只有一个规则:continuation 必须且只能 resume 一次。违反这个规则会导致运行时崩溃,所以 Checked 这个词不是摆设——debug 模式下它会帮你检查。
从 DispatchQueue 到 Actor 的心智模型转换
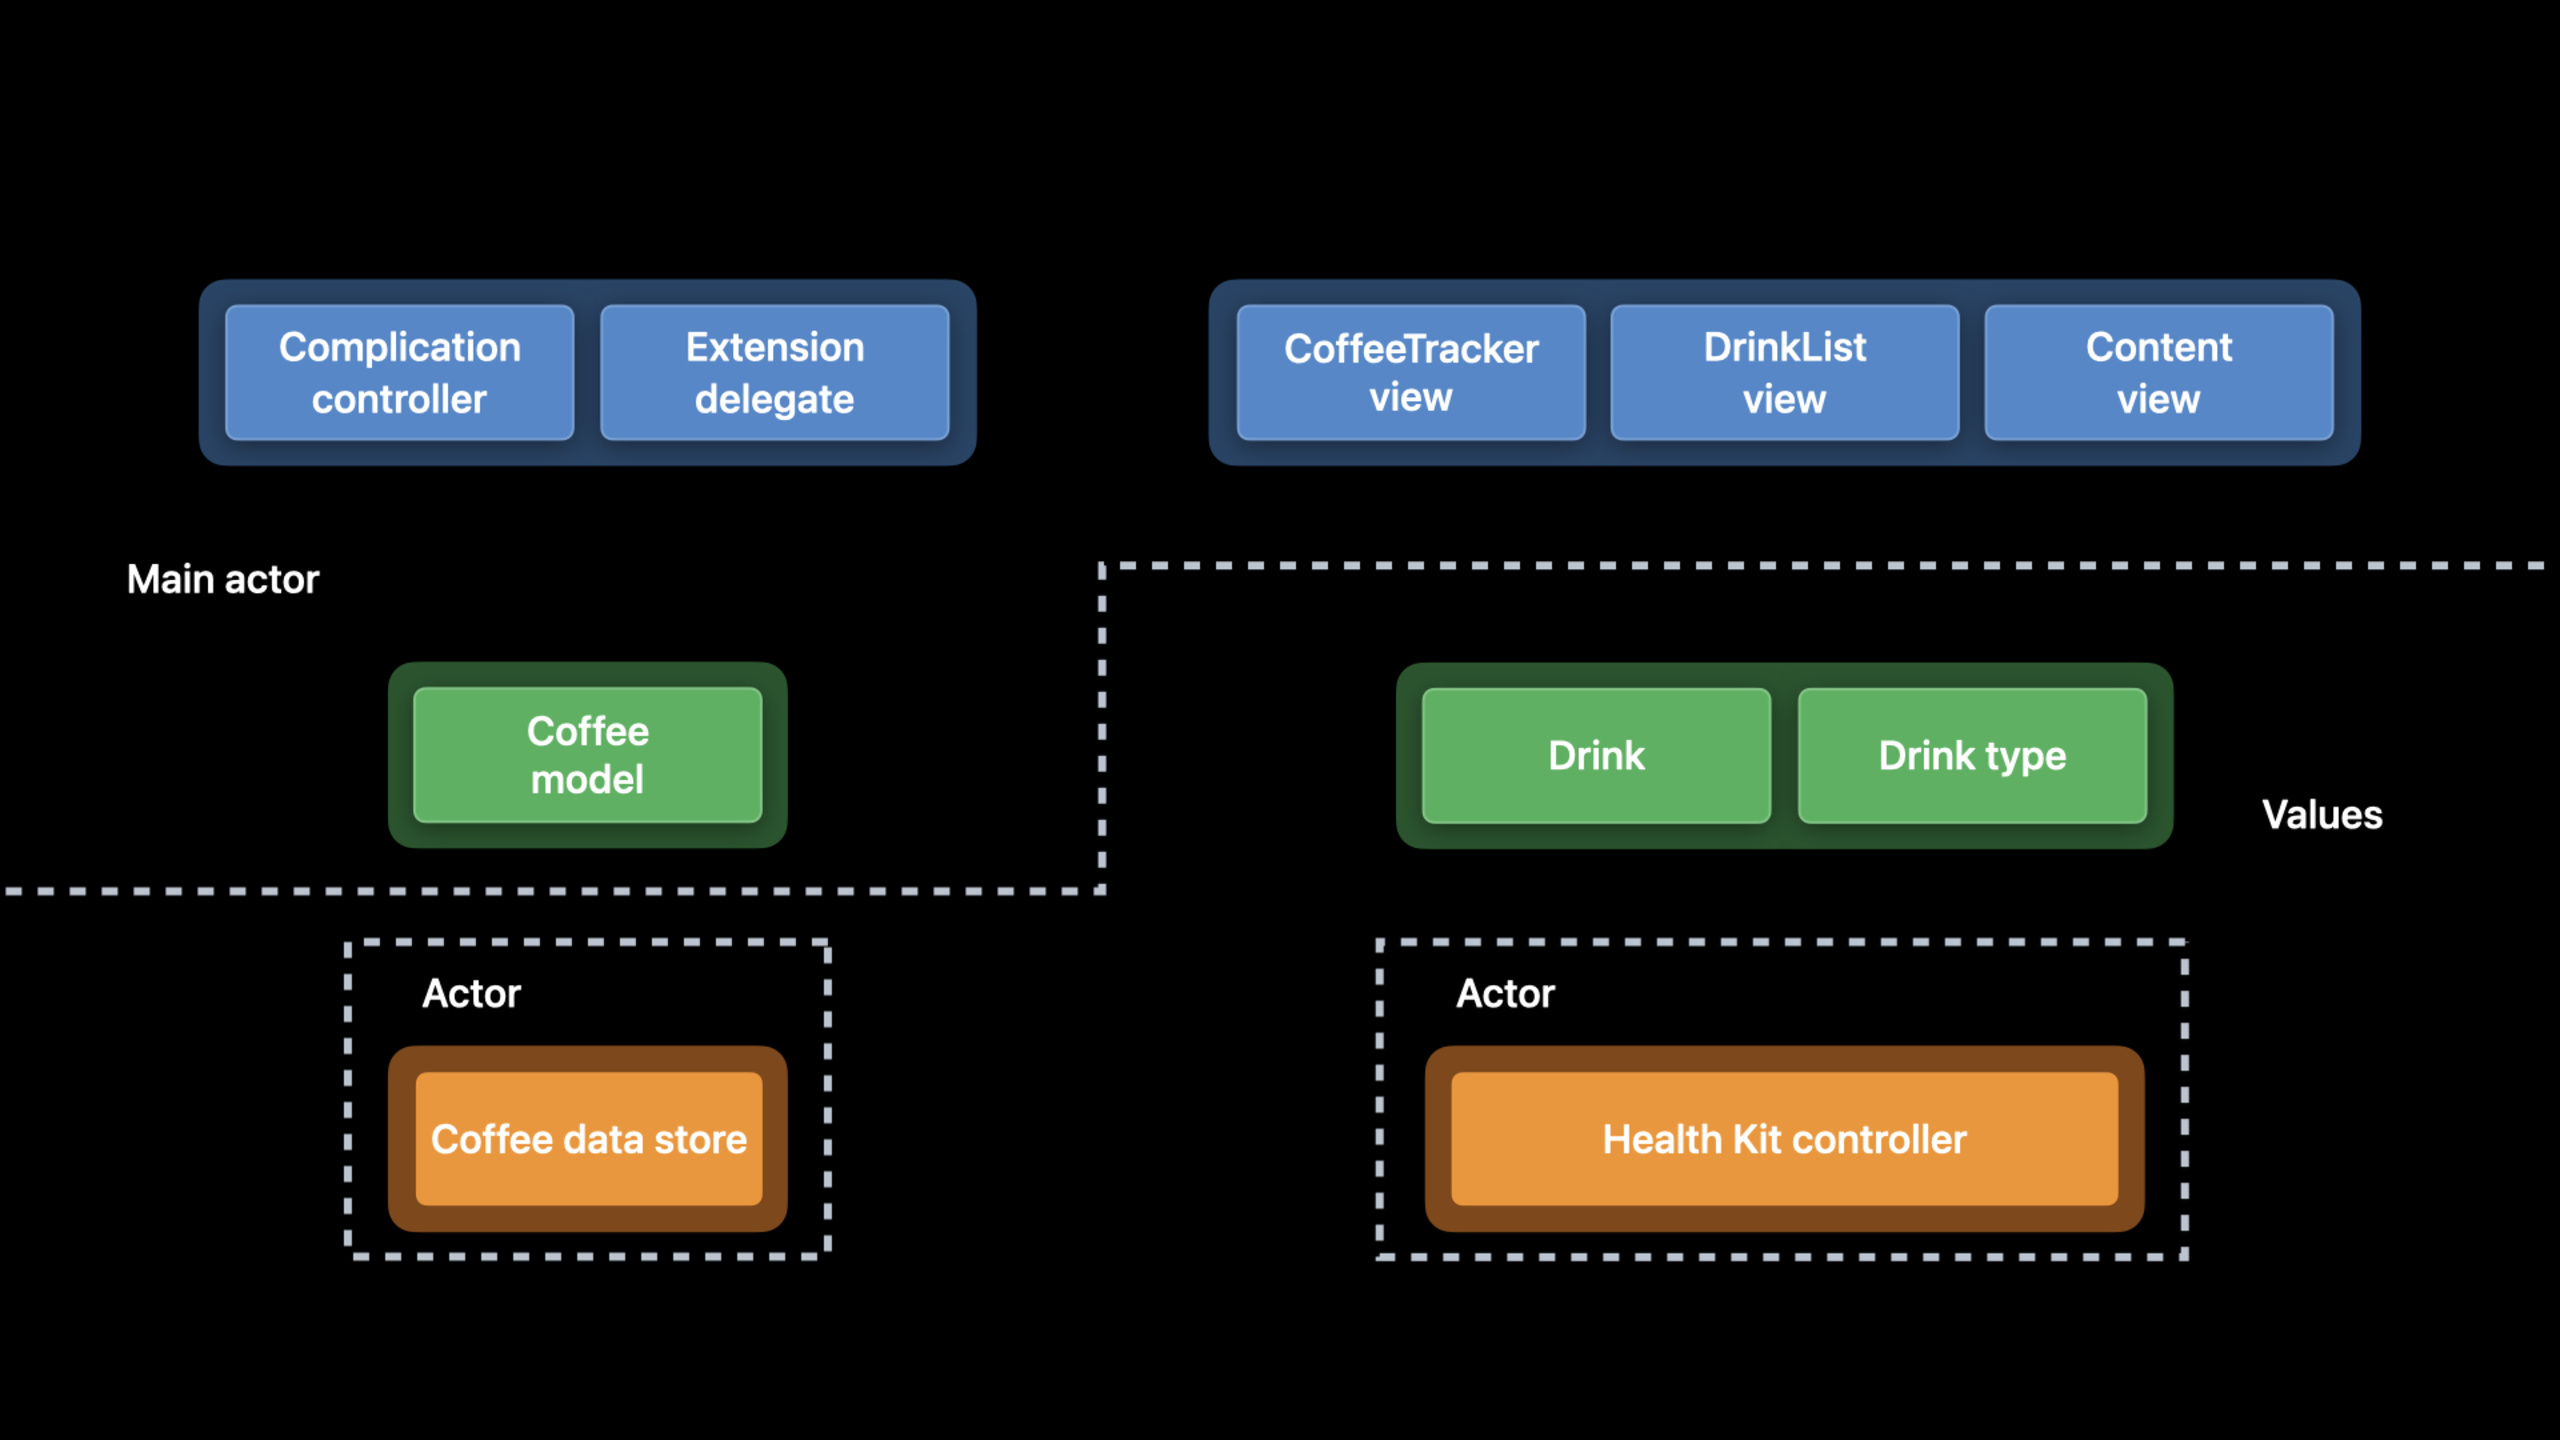
GCD 时代的心智模型是”把这段代码扔到这个队列上执行”。Actor 时代的心智模型是”这段数据被这个 Actor 保护,访问它必须通过 Actor 的方法”。前者关注的是执行的位置,后者关注的是数据的安全。这个转换在迁移过程中特别容易混淆——你不能只是把 DispatchQueue.global().async 替换成 Task.detached 就完事,你需要重新审视每个共享状态的访问路径。
代码片段
用 continuation 包装 completion handler
// 迁移前:completion handler 风格
func fetchEarthquakes(completion: @escaping (Result<[Earthquake], Error>) -> Void) {
    let task = URLSession.shared.dataTask(with: url) { data, response, error in
        // 处理结果...
        completion(.success(earthquakes))
    }
    task.resume()
}

// 迁移后:用 continuation 桥接
func fetchEarthquakes() async throws -> [Earthquake] {
    try await withCheckedThrowingContinuation { continuation in
        fetchEarthquakes { result in
            switch result {
            case .success(let earthquakes):
                continuation.resume(returning: earthquakes)
            case .failure(let error):
                continuation.resume(throwing: error)
            }
        }
    }
}
用 async let 并发请求
// 同时请求地震列表和区域信息
func loadAllData() async throws -> ([Earthquake], RegionInfo) {
    async let earthquakes = fetchEarthquakes()
    async let regionInfo = fetchRegionInfo()

    // 两个请求并行执行,这里等待两个结果
    return try await (earthquakes, regionInfo)
}
用 Actor 保护缓存
actor EarthquakeCache {
    private var storage: [String: [Earthquake]] = [:]

    func earthquakes(for region: String) -> [Earthquake]? {
        storage[region]
    }

    func setEarthquakes(_ earthquakes: [Earthquake], for region: String) {
        storage[region] = earthquakes
    }

    func clear() {
        storage.removeAll()
    }
}

// 使用:自动在 actor 上下文中串行执行
let cached = await cache.earthquakes(for: "California")
最佳实践
迁移策略: 自下而上迁移。先迁移最底层的网络/数据函数,再迁移中间层,最后迁移 UI 层。这样可以逐层消化编译错误,而不是被几百个编译错误淹没。每个迁移步骤都确保编译通过和测试通过再继续。
日常开发: 新代码全部用 async/await。旧接口用 withCheckedThrowingContinuation 包装成 async,不要在 async 上下文里回调 completion handler——那是在制造新的混乱。共享状态一律用 Actor,不要用锁或串行队列。
还有什么值得关注
- Xcode 的迁移器(Migrator)可以自动将部分 completion handler 代码转换为 async/await,但复杂场景仍需手动处理。
Task.init继承当前 actor 上下文,Task.detached不继承——大部分情况下你应该用前者。- Swift 5.5 中
@MainActor标注的 SwiftUI 视图的方法默认在主线程执行,但视图的 body 属性已经隐式在主线程。