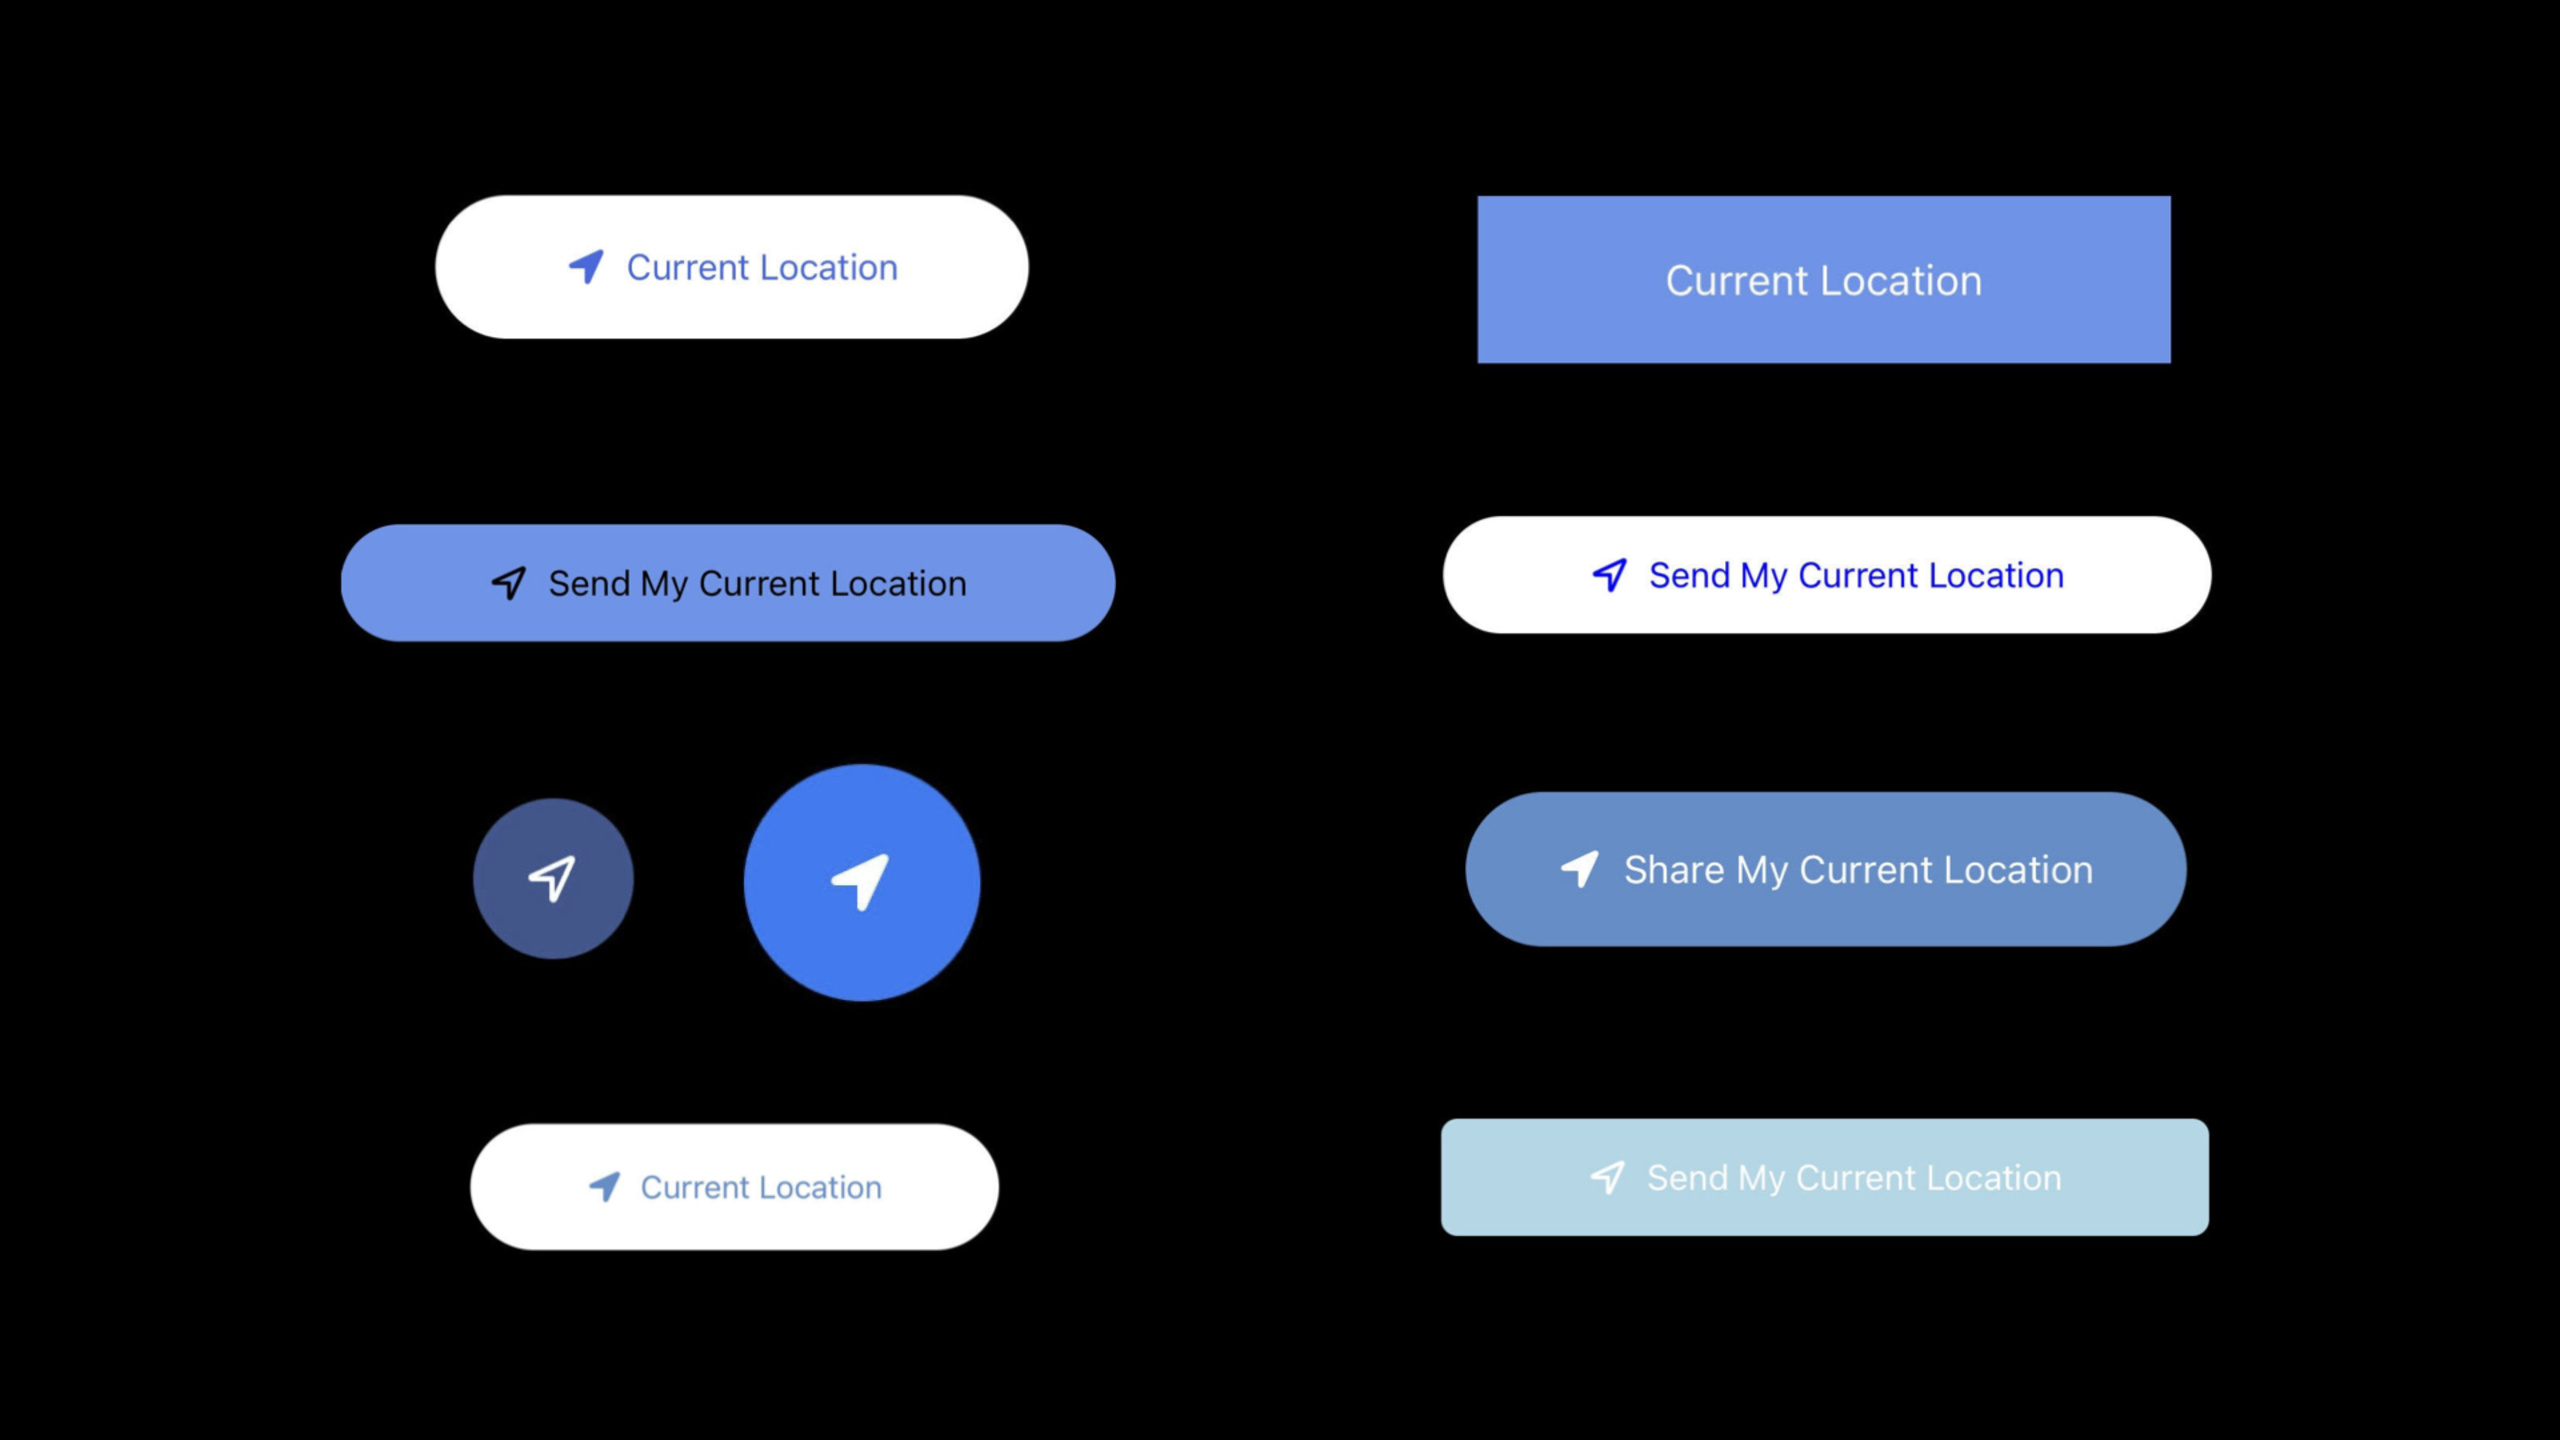
认识定位按钮
Meet the Location Button
2021年6月9日
一句话判断
Location Button 是苹果给”只需偶尔获取一次位置”场景的折中方案 —— 用户点一次按钮授权一次定位,不弹出系统权限弹窗,也不需要”使用期间”的持续授权,但它长得是系统控件的样子,你基本没法自定义外观。
这场 Session 讲了什么
iOS 15 引入了 Location Button,一种新的获取用户位置的方式。传统方式需要通过 CLLocationManager.requestWhenInUseAuthorization() 弹出系统权限对话框,用户选择”使用期间允许”后 app 才能获取位置。Location Button 简化了这个流程:用户点击按钮,app 立即获得一次性的位置授权。
这个设计解决了两个痛点:第一,很多 app 只需要偶尔获取一次位置(如查找附近餐厅、签到),不需要持续追踪;第二,用户对”使用期间允许”这个授权级别的理解很模糊,经常因为担心隐私而直接拒绝。
Location Button 在用户点击后授予一次性的”临时授权”,app 可以在短时间内获取位置。下次需要时,用户再点一次。按钮由系统渲染,保证用户能识别这是一个位置相关的操作。
值得深挖的点
临时授权的时效和范围。Location Button 点击后授予的临时授权只持续很短的时间(通常几分钟),且只能在前台使用。如果 app 进入后台,授权立即失效。这个设计意味着你不能用它做导航类应用(需要持续位置更新),但非常适合”查找附近”、“签到打卡”、“拍照定位”等一次性场景。
按钮外观的控制权问题。Location Button 由系统渲染,显示一个带有定位箭头图标的胶囊按钮。你可以设置颜色(tint color),但不能改变形状、大小或图标。苹果有意这样设计:让用户一眼就能认出”这是定位按钮”,和 Sign in with Apple 按钮的设计哲学一致。
代码片段
在 SwiftUI 中使用 Location Button:
import SwiftUI
import CoreLocationUI

struct NearbySearchView: View {
    let locationManager = CLLocationManager()

    var body: some View {
        VStack(spacing: 20) {
            Text("查找附近的咖啡店")
                .font(.title2)

            // 创建 Location Button
            LocationButton {
                // 用户点击后获取当前位置
                locationManager.requestLocation()
            }
            .labelStyle(.titleAndIcon)  // 显示图标和文字
            .symbolVariant(.fill)
            .tint(.blue)  // 自定义颜色
            .clipShape(Capsule())
        }
    }
}
在 UIKit 中使用 Location Button:
import CoreLocationUI
import CoreLocation

class NearbyViewController: UIViewController {
    let locationManager = CLLocationManager()

    override func viewDidLoad() {
        super.viewDidLoad()

        // 创建 Location Button
        let locationButton = CLLocationButton(
            locationManager: locationManager
        )
        locationButton.label = .currentLocation  // "当前位置" 文案
        locationButton.icon = .arrowFilled  // 填充箭头图标
        locationButton.tintColor = .systemBlue
        locationButton.addTarget(self, action: #selector(requestLocation), for: .touchUpInside)

        view.addSubview(locationButton)
        // 设置约束...
    }

    @objc func requestLocation() {
        // Location Button 点击后自动授予临时权限
        // 在这里获取位置
        locationManager.desiredAccuracy = kCLLocationAccuracyHundredMeters
        locationManager.delegate = self
        locationManager.requestLocation()
    }
}

extension NearbyViewController: CLLocationManagerDelegate {
    func locationManager(_ manager: CLLocationManager, didUpdateLocations locations: [CLLocation]) {
        guard let location = locations.first else { return }
        print("当前位置: \(location.coordinate)")
        searchNearby(latitude: location.coordinate.latitude,
                     longitude: location.coordinate.longitude)
    }

    func locationManager(_ manager: CLLocationManager, didFailWithError error: Error) {
        print("定位失败: \(error)")
    }
}结合传统定位权限使用:
import CoreLocation
import CoreLocationUI

class LocationService: NSObject, CLLocationManagerDelegate {
    let manager = CLLocationManager()

    func requestOneTimeLocation() {
        // 先检查当前授权状态
        switch manager.authorizationStatus {
        case .notDetermined:
            // 从未授权,使用 Location Button 让用户主动触发
            // 等待 Location Button 点击
            break
        case .authorizedWhenInUse, .authorizedAlways:
            // 已有授权,直接获取位置
            manager.requestLocation()
        case .denied, .restricted:
            // 权限被拒绝,引导用户去设置
            openAppSettings()
        default:
            break
        }
    }
}
最佳实践
- 把 Location Button 放在用户明确需要位置信息的上下文中。不要在首页放一个大大的定位按钮,而是在”查找附近”、“打卡签到”等功能入口处放置。
- Location Button 不适合需要持续定位的场景。导航、跑步记录、社交分享位置这类需求还是用传统的
CLLocationManager授权。 - 优雅降级:如果用户已经授权了”使用期间”,不需要 Location Button,直接获取位置。Location Button 是给”未授权”用户准备的。
还有什么值得关注
- Location Button 在 iPadOS 和 watchOS 上也可用。
- 点击 Location Button 会在系统的隐私日志中记录一次”位置访问”,用户可以在隐私设置中查看。
- 如果 app 已经被用户拒绝了定位权限,Location Button 点击后会引导用户去设置中重新授权。