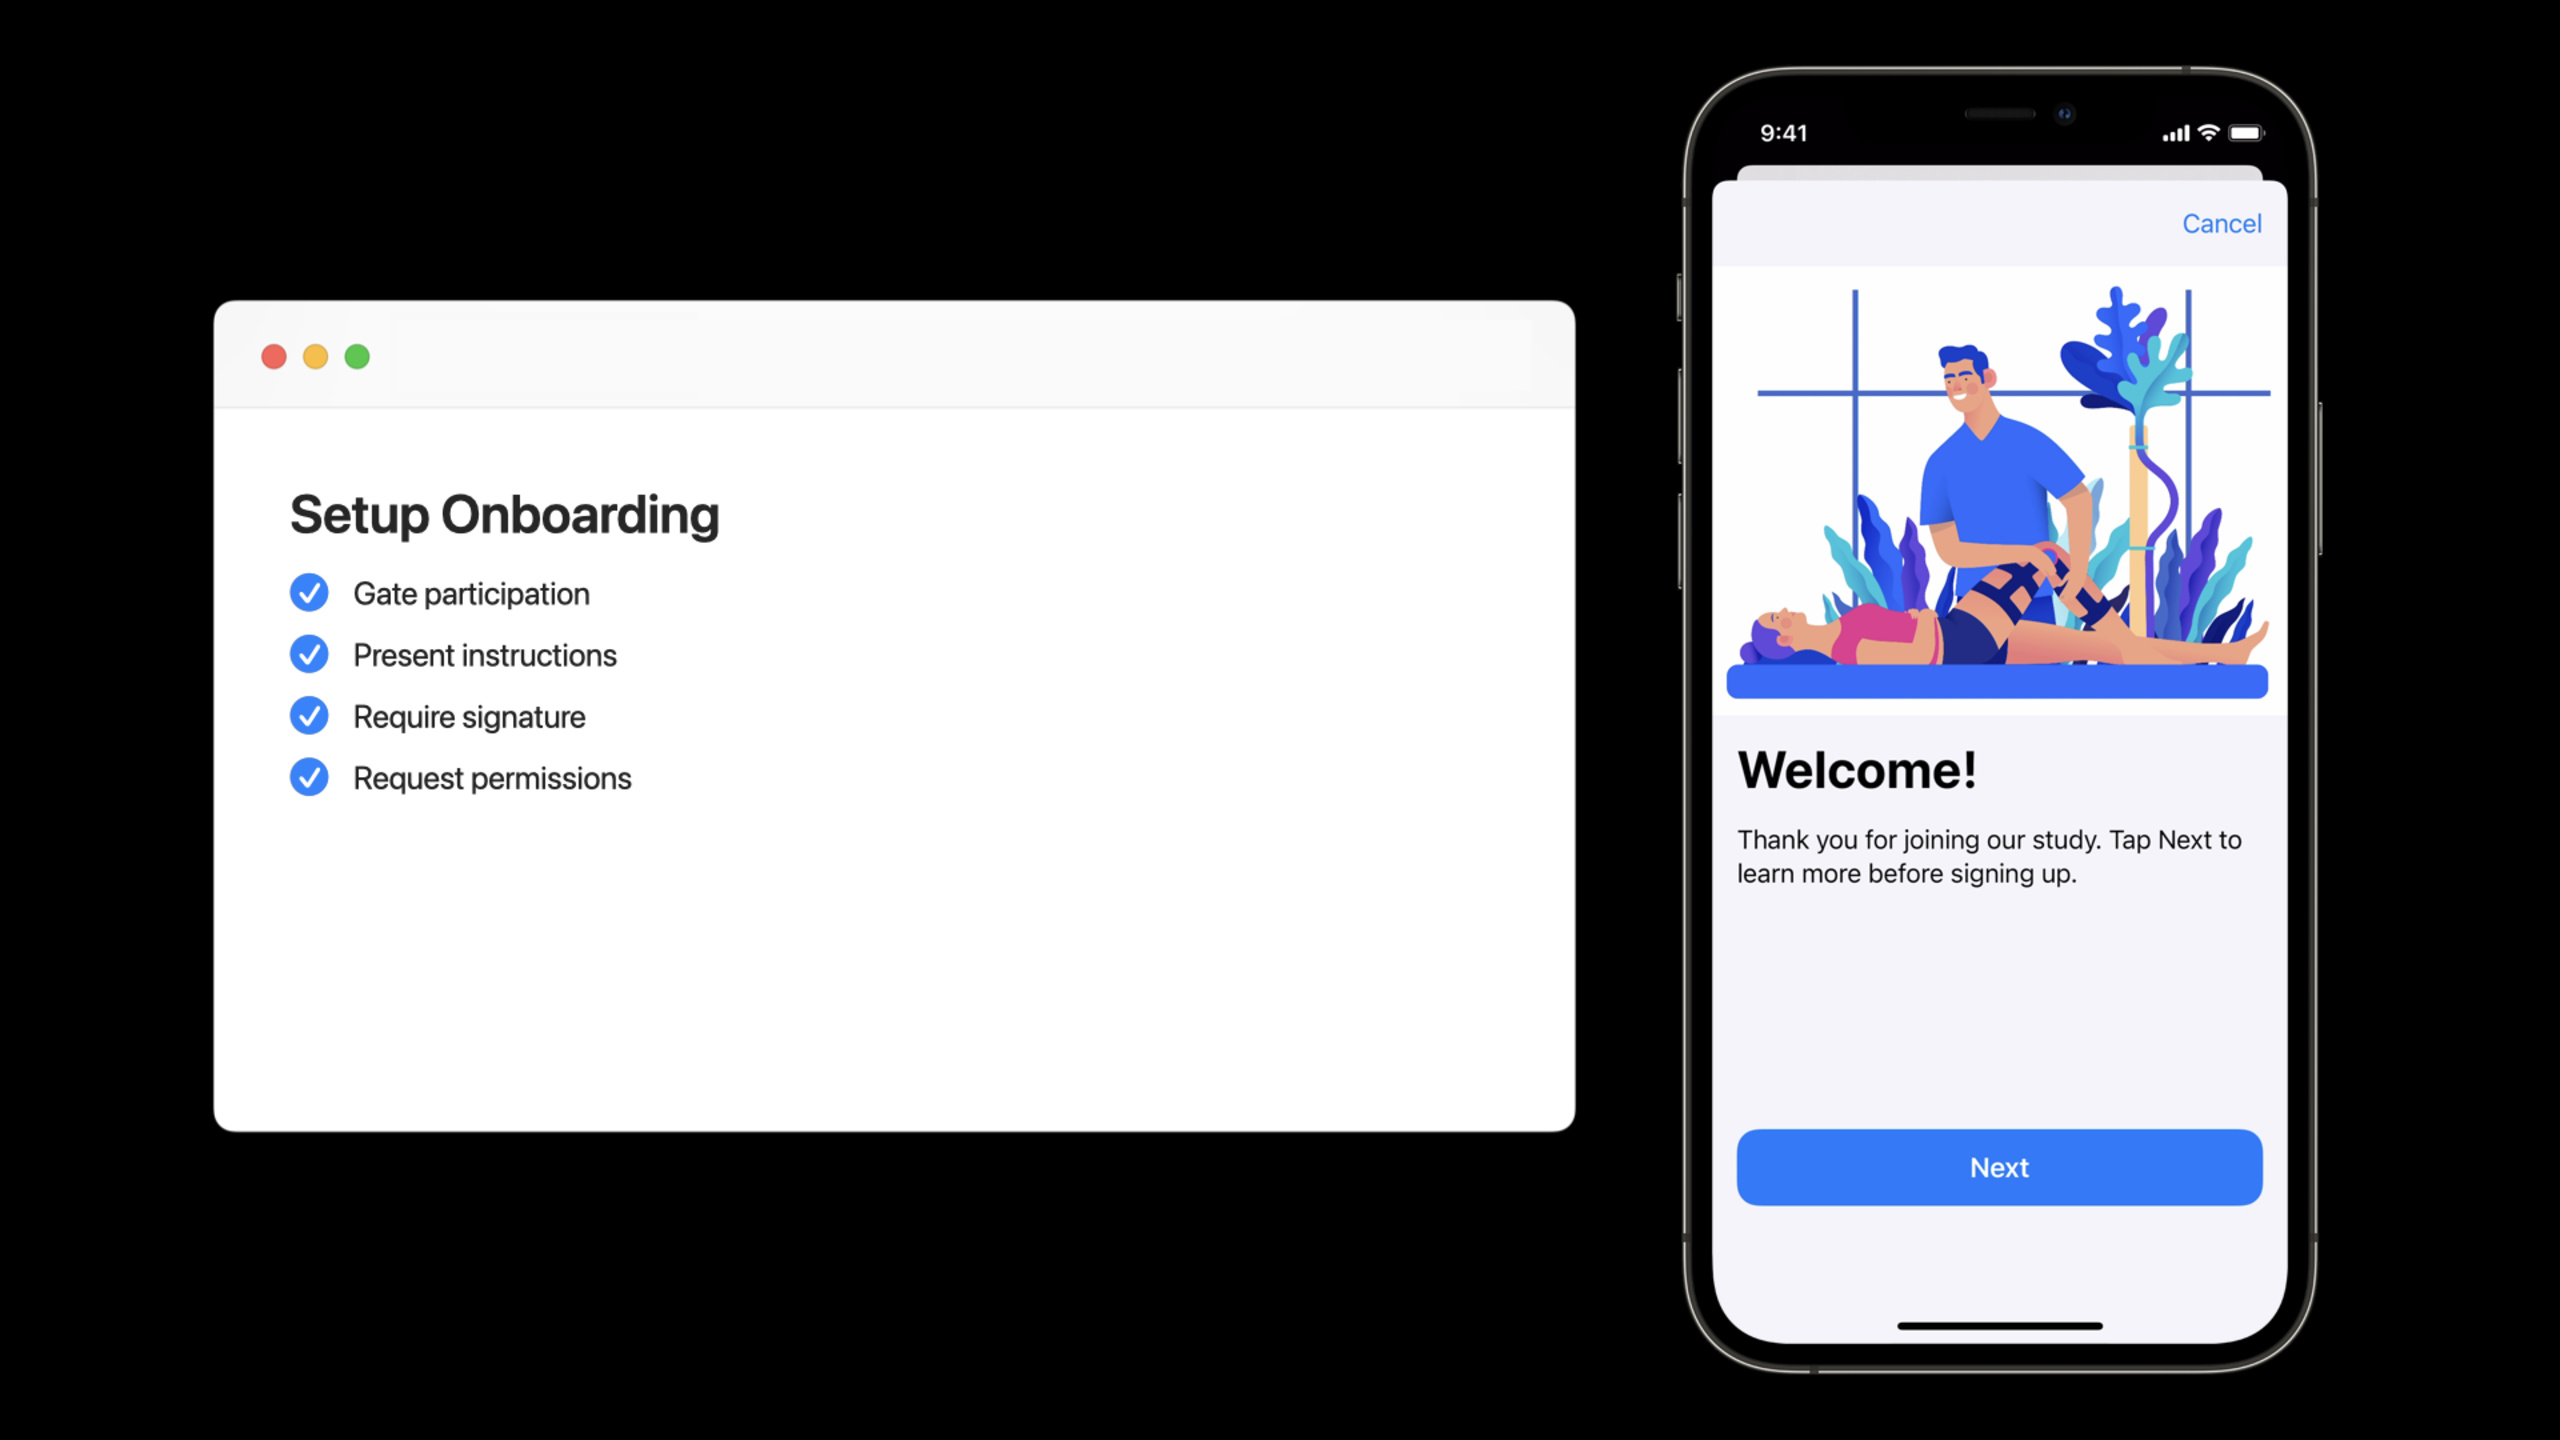
构建研究与护理应用(一):设置引导流程
Build a research and care app, part 1: Setup onboarding
2021年6月10日
一句话判断
这是 Apple 心血管研究框架的实战教学 —— 用 CareKit 和 ResearchKit 搭建一个完整的用户引导流程,但如果你没有医疗/研究背景,光搞懂 consent 流程和权限模型就得花上一整天。
这场 Session 讲了什么
这个三部分系列的第一集,讲解了如何用 CareKit 和 ResearchKit 构建一个健康研究 app 的引导(Onboarding)流程。Session 以一个假设的心血管研究 app 为蓝本,从头搭建用户首次打开 app 后的完整体验。
内容包括:用户注册、知情同意书(Informed Consent)展示与签署、HealthKit 权限请求、研究计划的创建和本地持久化。整个流程基于 ORKTaskViewController 和 CareKit 的 OCKSchedule 来编排。
Session 强调了三个关键设计原则:引导步骤要少、权限请求要有上下文说明、同意书签署要可追溯。这些原则在医疗 app 中不只是 UX 要求,更是合规(如 HIPAA、GDPR)的硬性要求。
值得深挖的点
知情同意的电子签名流程。ResearchKit 提供了一整套 consent 流水线:概述(VisualConsentStep)→ 隐私说明 → 同意文档回顾 → 签名(ConsentSignatureStep)。签名数据会被编码成 PDF 存储在设备上,法律效力等同于纸质签名。整个流程通过 ORKConsentDocument 配置,支持动态插入研究机构的具体条款。
CareKit 的 Store 层设计。OCKStore 是本地 SQLite 数据库,用来持久化研究计划(Care Plan)、任务进度和健康数据。关键点在于它和 HealthKit 的双向同步:CareKit 任务完成状态可以写入 HealthKit,HealthKit 的数据变更也能触发 CareKit 的 UI 更新。这层抽象让开发者不需要直接操作 HealthKit 的底层 API。
代码片段
创建知情同意流程:
import ResearchKit

func createConsentTask() -> ORKTask {
    // 配置同意文档
    let document = ORKConsentDocument()
    document.title = "心血管研究知情同意书"
    document.sections = [
        ORKConsentSection(type: .overview),
        ORKConsentSection(type: .dataGathering),
        ORKConsentSection(type: .privacy),
        ORKConsentSection(type: .dataUse),
    ]

    // 可视化同意步骤
    let visualStep = ORKVisualConsentStep(
        identifier: "VisualConsentStep",
        document: document
    )

    // 签名步骤
    let signature = ORKConsentSignature(
        identifier: "ConsentSignature",
        givenBy: "Participant"
    )
    document.addSignature(signature)
    let signatureStep = ORKConsentSignatureStep(
        identifier: "ConsentSignatureStep",
        document: document
    )

    return ORKOrderedTask(
        identifier: "ConsentTask",
        steps: [visualStep, signatureStep]
    )
}
配置 HealthKit 权限请求:
import HealthKit

func requestHealthKitAuthorization() {
    let healthStore = HKHealthStore()
    let typesToRead: Set<HKObjectType> = [
        HKObjectType.quantityType(forIdentifier: .heartRate)!,
        HKObjectType.quantityType(forIdentifier: .stepCount)!,
        HKObjectType.categoryType(forIdentifier: .sleepAnalysis)!,
    ]
    healthStore.requestAuthorization(toShare: nil, read: typesToRead) { success, error in
        if success {
            // 权限授予,继续引导流程
            proceedToCarePlanSetup()
        }
    }
}
创建 CareKit 护理计划:
import CareKit

func setupCarePlan() {
    let store = OCKStore(name: "CardioStudy")
    // 定义每日任务
    let schedule = OCKSchedule.dailyAtTime(
        hours: 8, minutes: 0,
        start: Date(), end: nil,
        text: "请测量心率并记录"
    )
    let task = OCKTask(
        id: "heart_rate_check",
        title: "每日心率检测",
        carePlanUUID: nil,
        schedule: schedule
    )
    store.addTask(task) { result in
        switch result {
        case .success:
            print("护理计划创建成功")
        case .failure(let error):
            print("创建失败: \(error)")
        }
    }
}
最佳实践
- Consent 文档让法务团队审阅后再上线。ResearchKit 生成的 PDF 会作为法律凭证保存,措辞不准确会导致严重合规风险。建议用模板起步,但必须经过专业审核。
- 权限请求和功能说明绑定在一起。不要在 app 启动时一口气弹出一堆系统权限弹窗。在需要 HealthKit 数据的页面展示说明文字后再请求,通过率会高很多。
- 引导流程完成后给用户一个明确的”下一步”指示。CareKit 的首页应该直接展示今天要完成的任务,而不是空白页面。
还有什么值得关注
- ResearchKit 的 Consent PDF 可以导出到服务器端存储,用于后续审计。
- CareKit 支持和 CloudKit 同步,实现多设备数据一致。
- 系列的第二集讲解了如何调度和执行研究任务(Scheduled Tasks)。