使用 XCTIssue 分类排查测试失败
Triage test failures with XCTIssue
2020年6月25日
一句话判断
Xcode 12 的 XCTIssue 替代了旧的 XCTestObservation 的 error-based 接口——现在测试失败被分类为「断言失败」「性能未达标」「未捕获异常」「系统超时」等类型,让你在 CI 管道中精确过滤和处理不同性质的失败。
这场 Session 讲了什么
Xcode 12 引入了 XCTIssue 类型来替代之前基于 NSError 的测试失败报告机制。以前 XCTestObservation 的回调只给你一个 error 对象,你只能拿到错误描述字符串。现在每个测试失败都是一个 XCTIssue 实例,包含类型、描述、源码位置、附件(截图/文件)等结构化信息。
XCTIssue 的类型枚举:
.assertionFailure:XCTAssertEqual等断言失败.performanceRegression:性能测试的指标回归.uncaughtException:测试中未捕获的异常.system:系统级问题(超时、崩溃).failure:通过XCTFail()显式标记的失败
Session 还介绍了如何用 XCTestObservation 协议的新方法 testSuite(_:didRecord:) 来捕获 XCTIssue,在 CI 中实现自定义的报告和通知。
值得深挖的点
XCTAttachment 的自动关联
XCTIssue 可以携带 XCTAttachment(附件)。断言失败时,Xcode 会自动附加相关数据:失败的变量值、UIImage 截图、数据文件等。在 CI 中你可以把这些附件提取出来,生成比纯文本更直观的失败报告。自定义断言时,你也可以主动添加附件。
自定义测试观察者的新接口
旧接口 testSuite(_:didFailWithDescription:in:) 被废弃了。新的 testSuite(_:didRecord:) 接收 XCTIssue,你可以根据 issue.type 做分类处理:断言失败可能是代码 bug,系统超时可能是环境问题,未捕获异常可能是并发问题。这种分类在大型项目的 CI 中非常有价值。
代码片段
import XCTest

// 自定义测试观察者:根据 XCTIssue 类型分类处理
class CIObserver: NSObject, XCTestObservation {

    func testBundleWillStart(_ testBundle: Bundle) {
        print("CI: 测试开始")
    }

    // 新接口:接收结构化的 XCTIssue
    func testSuite(_ testSuite: XCTestSuite, didRecord issue: XCTIssue) {
        let testName = testSuite.name ?? "unknown"

        switch issue.type {
        case .assertionFailure:
            // 断言失败:可能是代码 bug
            reportAssertionFailure(test: testName, issue: issue)

        case .performanceRegression:
            // 性能回归:可能需要优化
            reportPerformanceRegression(test: testName, issue: issue)

        case .uncaughtException:
            // 未捕获异常:通常是并发问题
            reportUncaughtException(test: testName, issue: issue)

        case .system:
            // 系统问题:超时、崩溃等
            reportSystemIssue(test: testName, issue: issue)

        case .failure:
            // 显式失败(XCTFail)
            reportExplicitFailure(test: testName, issue: issue)

        default:
            break
        }

        // 提取附件
        for attachment in issue.attachments {
            if let image = attachment.uniformTypeIdentifier == "public.png" ? attachment.payload : nil {
                // 保存截图
                saveScreenshot(image, for: testName)
            }
        }
    }

    private func reportAssertionFailure(test: String, issue: XCTIssue) {
        // 发送到 Slack/CI 系统
        print("[断言失败] \(test): \(issue.compactDescription)")
        if let location = issue.sourceCodeContext.location {
            print("  文件: \(location.fileURL), 行: \(location.lineNumber)")
        }
    }
}

// 注册观察者
XCTestObservationCenter.shared.addTestObserver(CIObserver())
// 自定义断言:主动添加附件
extension XCTestCase {
func assertLayout(_ view: UIView, matches reference: UIView, tolerance: CGFloat = 0.01,
file: StaticString = #file, line: UInt = #line) {
let viewImage = view.snapshot()
let referenceImage = reference.snapshot()
let diff = compareImages(viewImage, referenceImage)
if diff > tolerance {
// 创建 issue 并附加截图
let issue = XCTIssue(
type: .assertionFailure,
compactDescription: "布局差异 \(String(format: "%.2f", diff)) 超过容差 \(tolerance)",
detailedDescription: nil,
sourceCodeContext: XCTSourceCodeContext(
callStack: Thread.callStackSymbols.map { XCTSourceCodeLocation(fileURL: URL(fileURLWithPath: $0), lineNumber: 0) }
),
associatedError: nil,
attachments: [
XCTAttachment(image: viewImage),
XCTAttachment(image: referenceImage)
]
)
// 记录 issue
record(issue)
}
}
}最佳实践
- CI 中用
XCTIssue.type分类失败。断言失败和系统超时应该走不同的告警通道。断言失败直接通知开发者,系统超时先检查 CI 环境。 - 自定义断言时主动添加附件。比如 UI 测试失败时附加截图,网络测试失败时附加 response body。这样在 CI 报告中可以直接看到上下文,不用回本地复现。
- 迁移旧代码中的
XCTestObservation方法。把didFailWithDescription替换为didRecord,旧的接口在未来版本中会被移除。
还有什么值得关注
- Xcode 12 的测试报告 UI 也更新了,可以按
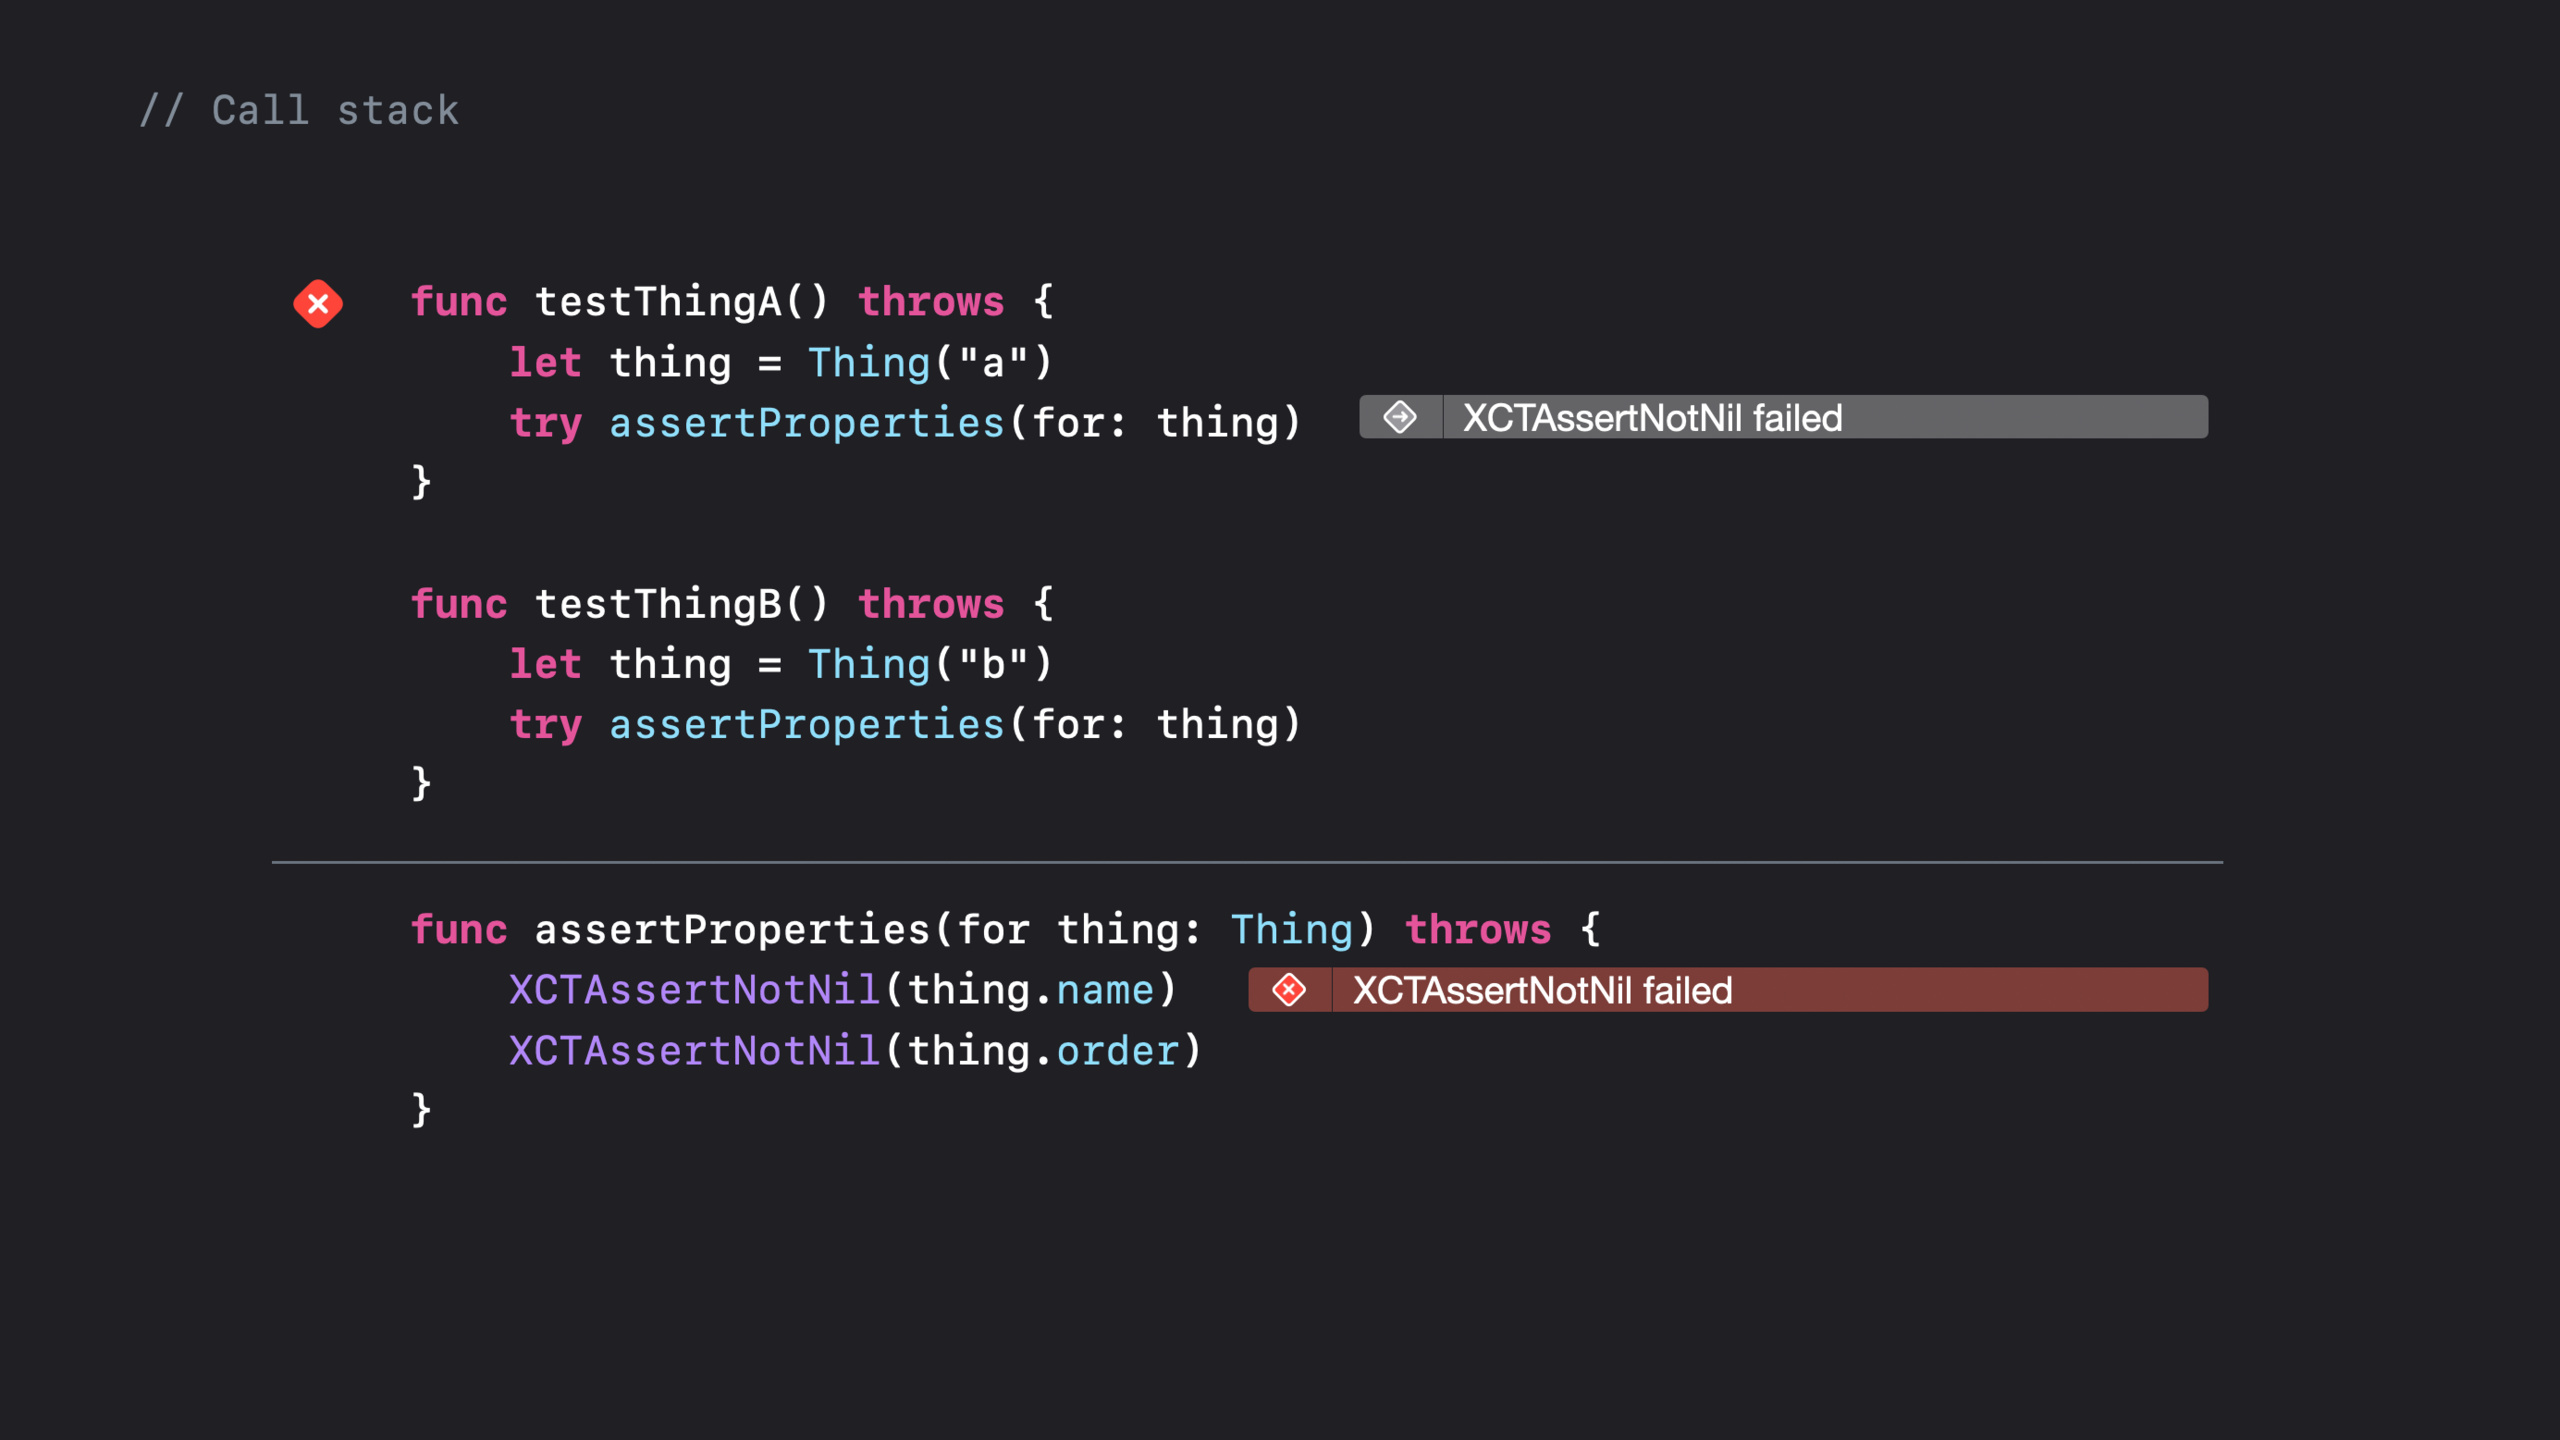
XCTIssue类型过滤测试结果。 XCTIssue支持序列化,可以在 CI 的多个阶段之间传递(比如从测试 runner 传到报告生成器)。XCTSourceCodeContext中的调用栈可以精确定位失败位置,即使是第三方框架中的断言也能追踪到你的测试代码。