认识 Web 端的 Face ID 和 Touch ID
Meet Face ID and Touch ID for the web
2020年6月25日
一句话判断
Safari 14 的 WebAuthn 支持让 Face ID 和 Touch ID 变成了 Web 端的原生认证器——用户在网页上用面容或指纹登录,不需要密码,也不需要第三方认证 app,银行和企业级 Web 应用直接受益。
这场 Session 讲了什么
这场 Session 讲解了如何在 Safari 14 中使用 Web Authentication API(WebAuthn)调用设备上的 Face ID 和 Touch ID 进行 Web 端认证。
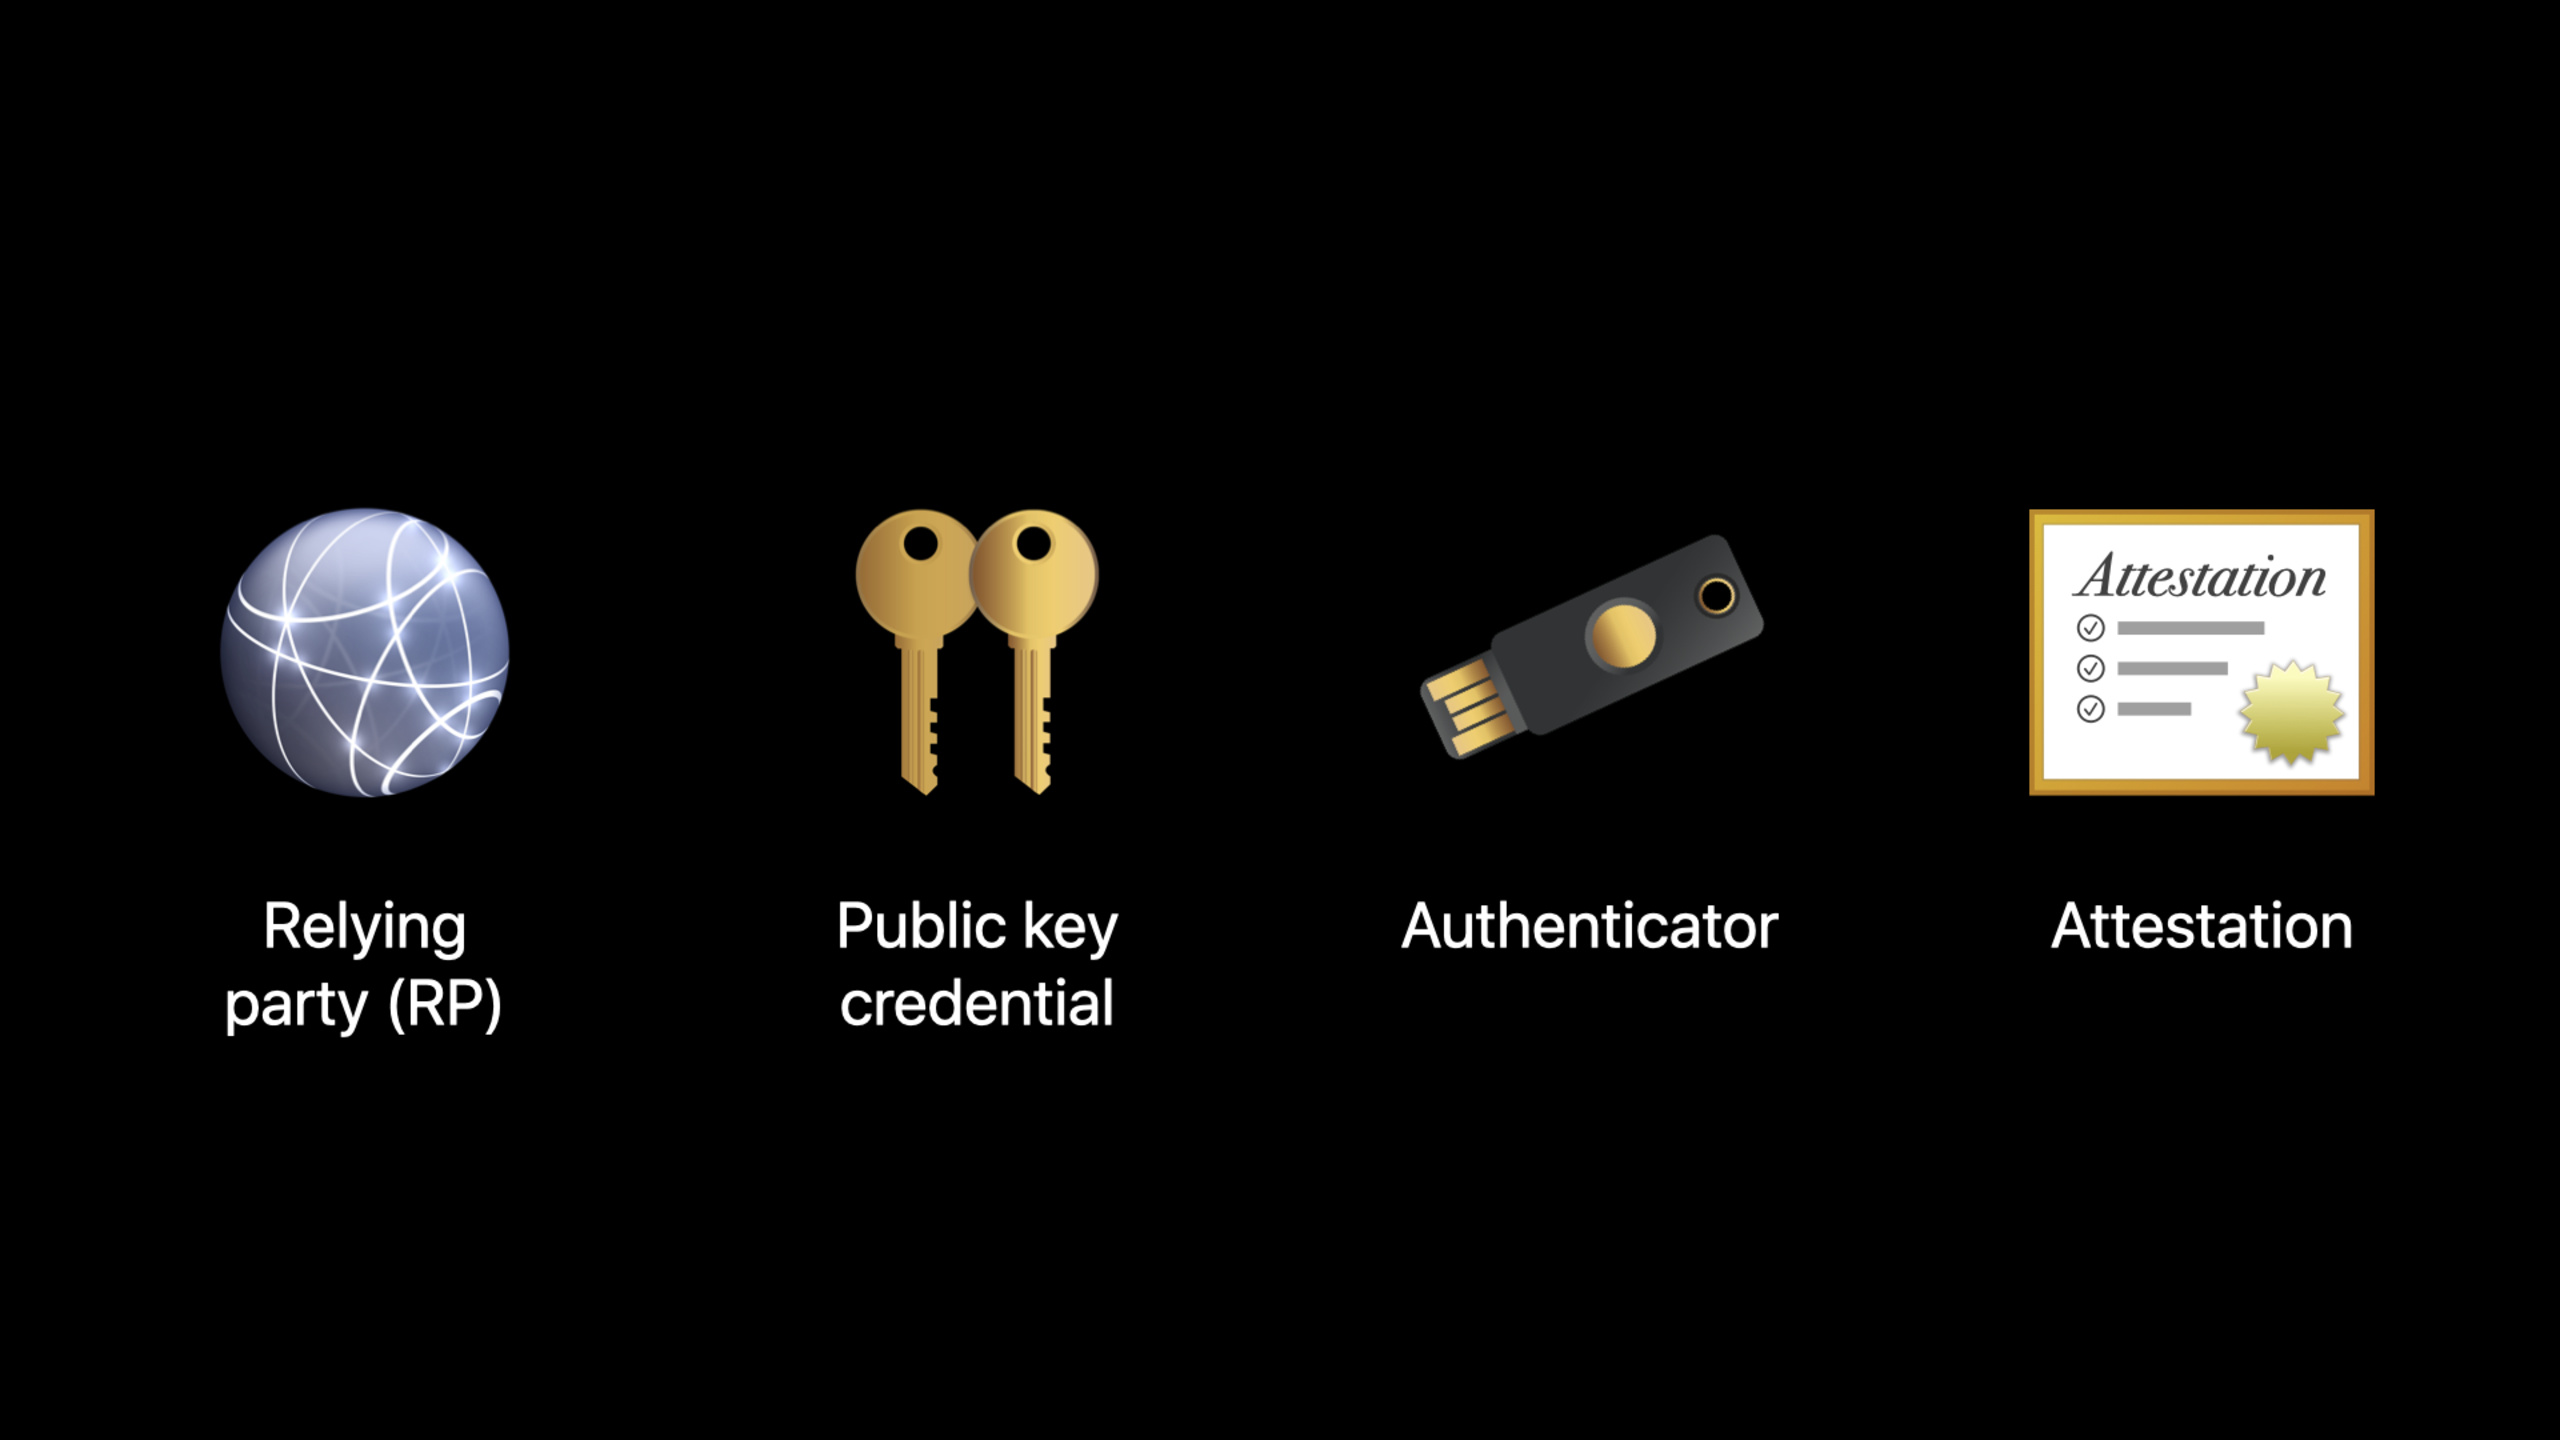
WebAuthn 是 W3C 标准,定义了公钥认证的 Web API。Safari 14 把 Apple 的生物识别设备(Touch ID / Face ID)作为 WebAuthn 的 Platform Authenticator(平台认证器)。这意味着用户访问支持 WebAuthn 的网站时,可以直接用指纹或面容完成注册和登录,完全取代密码。
Session 详细讲解了 WebAuthn 的注册和认证流程、如何在服务端验证 assertion、以及如何处理跨设备认证(比如在 Mac 上用 iPhone 的 Touch ID 认证)。
值得深挖的点
Platform Authenticator vs Cross-Platform Authenticator
Platform Authenticator 是设备内置的认证器(Mac 的 Touch ID、iPhone 的 Face ID),私钥存储在设备的安全芯片中,不能导出。Cross-Platform Authenticator 是外部设备(YubiKey 等硬件密钥)。Safari 14 两者都支持。对于大多数场景,Platform Authenticator 更方便(用户不需要额外硬件),但私钥绑定在单台设备上,需要设计好账户恢复流程。
注册流程中 userVerification 的选择
userVerification: "required" 要求每次认证都经过生物识别验证,安全性最高。"preferred" 优先使用生物识别但如果不可用则回退到设备解锁密码。"discouraged" 不要求用户验证,仅检查用户存在性(User Presence)。对于金融类应用建议用 "required",普通登录用 "preferred" 即可。
代码片段
// WebAuthn 注册流程(前端代码)
async function registerUser() {
    // 1. 从服务端获取注册挑战
    const options = await fetch('/api/webauthn/register-begin', {
        method: 'POST',
        headers: { 'Content-Type': 'application/json' },
        body: JSON.stringify({ username: 'zhangsan' })
    }).then(r => r.json());

    // 2. 将 Base64 编码的数据转换为 ArrayBuffer
    options.challenge = base64ToArrayBuffer(options.challenge);
    options.user.id = base64ToArrayBuffer(options.user.id);

    // 3. 要求使用平台认证器(Face ID / Touch ID)
    options.authenticatorSelection = {
        authenticatorAttachment: 'platform',
        userVerification: 'required'
    };

    try {
        // 4. 调用浏览器 API 创建凭证
        const credential = await navigator.credentials.create({ publicKey: options });

        // 5. 将凭证发送到服务端完成注册
        const registrationData = {
            id: credential.id,
            rawId: arrayBufferToBase64(credential.rawId),
            type: credential.type,
            response: {
                attestationObject: arrayBufferToBase64(credential.response.attestationObject),
                clientDataJSON: arrayBufferToBase64(credential.response.clientDataJSON)
            }
        };

        await fetch('/api/webauthn/register-finish', {
            method: 'POST',
            headers: { 'Content-Type': 'application/json' },
            body: JSON.stringify(registrationData)
        });

        console.log('注册成功');
    } catch (error) {
        console.error('注册失败:', error);
    }
}

// WebAuthn 认证流程(登录)
async function loginUser() {
    // 1. 从服务端获取认证挑战
    const options = await fetch('/api/webauthn/login-begin', {
        method: 'POST',
        headers: { 'Content-Type': 'application/json' },
        body: JSON.stringify({ username: 'zhangsan' })
    }).then(r => r.json());

    options.challenge = base64ToArrayBuffer(options.challenge);

    // 2. 获取认证断言
    const assertion = await navigator.credentials.get({
        publicKey: {
            ...options,
            userVerification: 'required'
        }
    });

    // 3. 发送到服务端验证
    const loginData = {
        id: assertion.id,
        rawId: arrayBufferToBase64(assertion.rawId),
        type: assertion.type,
        response: {
            authenticatorData: arrayBufferToBase64(assertion.response.authenticatorData),
            clientDataJSON: arrayBufferToBase64(assertion.response.clientDataJSON),
            signature: arrayBufferToBase64(assertion.response.signature),
            userHandle: arrayBufferToBase64(assertion.response.userHandle)
        }
    };

    const result = await fetch('/api/webauthn/login-finish', {
        method: 'POST',
        headers: { 'Content-Type': 'application/json' },
        body: JSON.stringify(loginData)
    });

    if (result.ok) {
        console.log('登录成功');
    }
}

// 工具函数:Base64 <-> ArrayBuffer 转换
function base64ToArrayBuffer(base64) {
    const binary = atob(base64);
    const bytes = new Uint8Array(binary.length);
    for (let i = 0; i < binary.length; i++) {
        bytes[i] = binary.charCodeAt(i);
    }
    return bytes.buffer;
}

function arrayBufferToBase64(buffer) {
    const bytes = new Uint8Array(buffer);
    let binary = '';
    for (let i = 0; i < bytes.length; i++) {
        binary += String.fromCharCode(bytes[i]);
    }
    return btoa(binary);
}
最佳实践
- 提供账户恢复机制。WebAuthn 的私钥绑定在设备上,用户换设备或重装系统后会丢失凭证。服务端必须提供备选的认证方式(邮箱验证码、短信验证等)作为恢复入口。
- 同时支持 Platform 和 Cross-Platform 认证器。不要只支持 Face ID/Touch ID,也要兼容硬件安全密钥。企业用户和安全性要求更高的用户可能使用 YubiKey 等设备。
- 在 HTTPS 环境下才能使用 WebAuthn。WebAuthn 只在安全上下文(HTTPS 或 localhost)中可用,开发时用 localhost 没问题,部署时必须上 HTTPS。
还有什么值得关注
- Safari 14 支持 WebAuthn 的跨设备认证:在 Mac 上发起认证请求后,可以用 iPhone 的 Face ID 完成,两台设备通过蓝牙握手。
allowCredentials参数可以限制认证器列表,实现「只允许用户之前注册过的设备认证」。- iOS 上的 Safari 同样支持 WebAuthn,可以在网页中直接调用 Face ID 认证。