使用 Core ML Converters 将模型部署到设备端
Get models on device using Core ML Converters
2020年6月24日
一句话判断
无论你用 TensorFlow、PyTorch 还是其他框架训练模型,Core ML Converters 都能帮你无痛迁移到 Apple 设备——但转换过程中的坑比你想象的多,这场 Session 帮你提前避开。
这场 Session 讲了什么
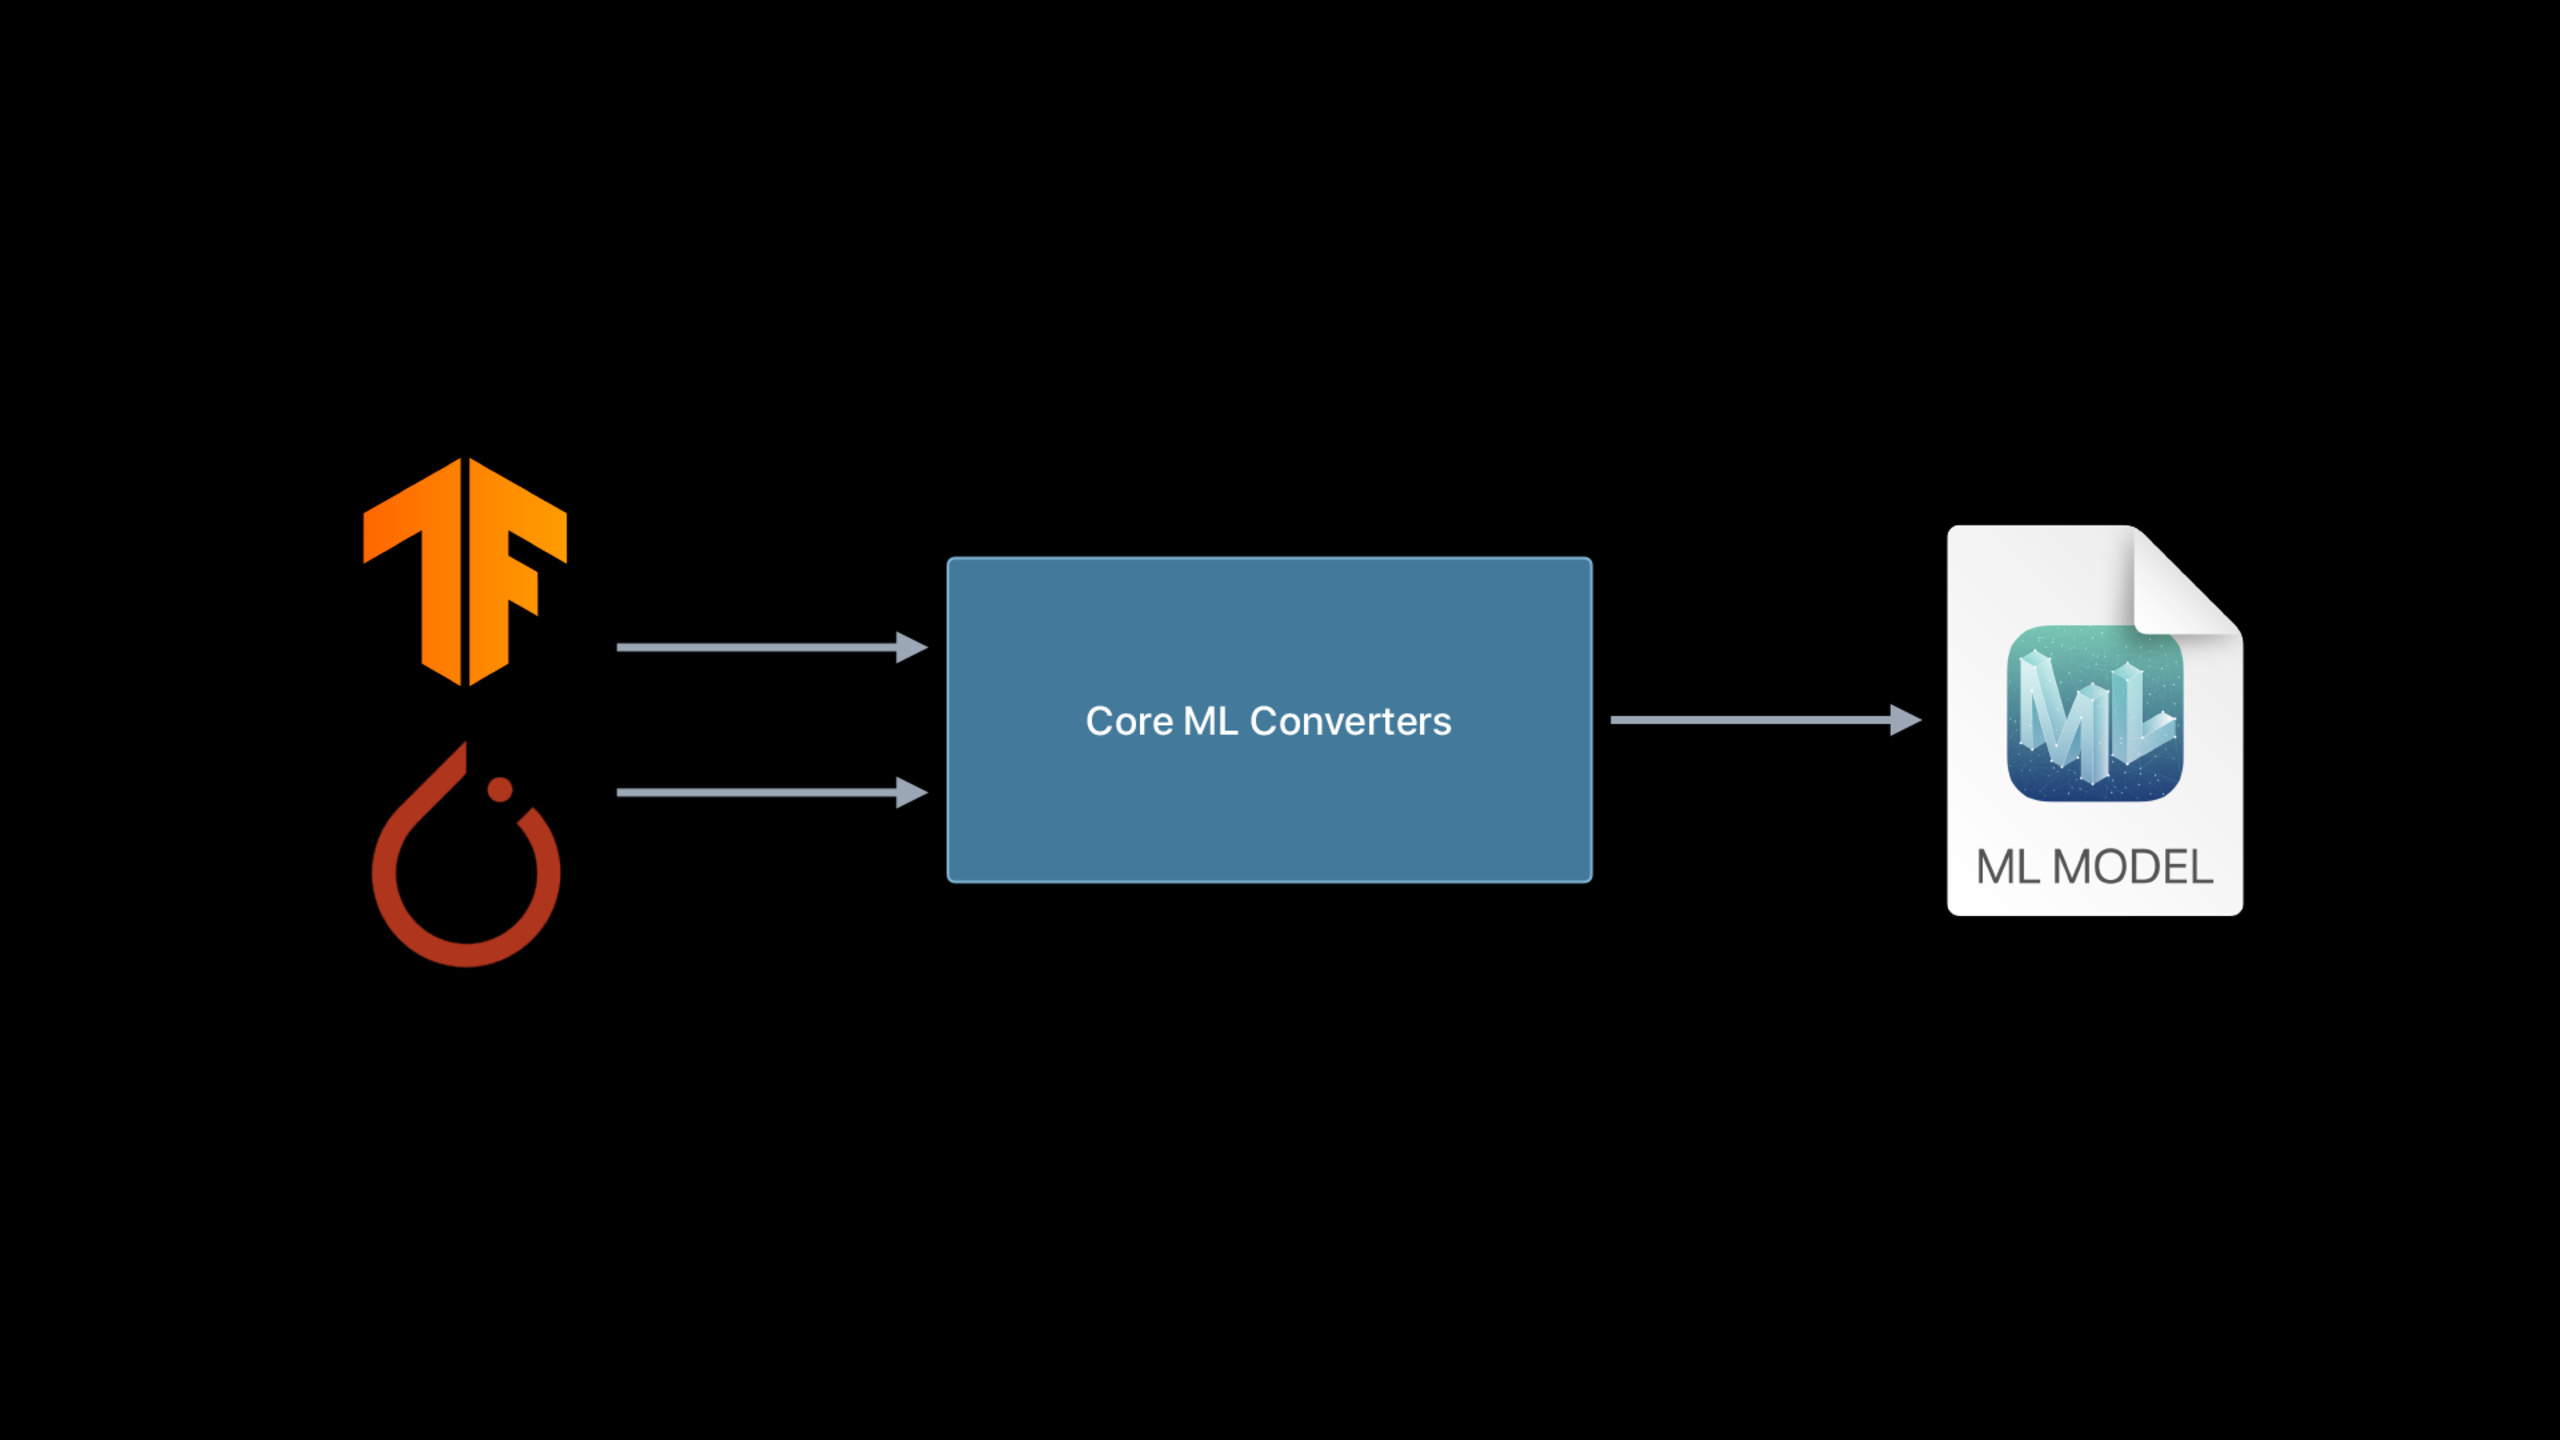
Core ML Tools(coremltools)是 Python 生态中的模型转换工具链,负责将各种训练框架产出的模型转换为 Apple 的 .mlmodel 格式。Session 全面介绍了 2020 年更新后的转换器能力,包括对 TensorFlow 2/Keras、PyTorch、ONNX 的支持改进,以及新增的对更多算子(operators)的覆盖。
Session 的核心内容分为三部分。首先,概述了当前支持的转换路径:从 TensorFlow 可以通过 tf.keras 或 tf.contrib 转换;从 PyTorch 需要先导出为 ONNX 格式再转换。其次,详细讨论了转换过程中常见的算子兼容性问题,以及如何通过自定义算子(custom layers)处理不支持的算子。最后,演示了一个端到端的转换流程,从训练好的图像分类模型到能在 iOS 上运行的 Core ML 模型。
特别值得注意的是,Session 介绍了 MIL(Model Intermediate Language)这个新的中间表示层。MIL 作为统一的前端,让所有框架的转换都经过同一套优化和验证流程,大幅减少了转换器本身的维护负担,也提高了转换成功率。
值得深挖的点
MIL 统一中间表示的意义
以前 Core ML Tools 为每个训练框架维护独立的转换管道,导致功能碎片化和 bug 修复缓慢。MIL 的引入意味着所有模型(无论来自哪个框架)都先被转换为 MIL 图,再经过统一的优化和验证阶段编译为 Core ML 格式。这个架构变更让 Apple 可以集中精力优化一条管道,同时方便社区贡献新的前端转换器。
自定义层的实现策略
当你的模型包含 Core ML 不原生支持的算子时,需要实现自定义层。这涉及两部分:Python 端的转换器扩展(告诉 coremltools 如何处理这个算子)和 Swift/C 端的运行时实现(告诉 Core ML 如何执行这个算子)。Session 建议尽量通过等价替换的方式避免自定义层——比如把不支持的激活函数替换为数学上等价的 sigmoid/ReLU 组合。
代码片段
# 将 TensorFlow 2 Keras 模型转换为 Core ML 格式
import coremltools as ct
import tensorflow as tf

# 加载或训练一个 Keras 模型
model = tf.keras.Sequential([
    tf.keras.layers.Conv2D(32, (3, 3), activation='relu', input_shape=(224, 224, 3)),
    tf.keras.layers.MaxPooling2D((2, 2)),
    tf.keras.layers.Flatten(),
    tf.keras.layers.Dense(128, activation='relu'),
    tf.keras.layers.Dense(10, activation='softmax')
])

# 转换为 Core ML 模型
coreml_model = ct.convert(
    model,
    inputs=[ct.ImageType(name="image", shape=(1, 224, 224, 3),
                         scale=1/255.0)],
    classifier_config=ct.ClassifierConfig(
        class_labels=["猫", "狗", "鸟", "鱼", "花", "树", "车", "船", "飞机", "房子"]
    )
)

# 添加元数据
coreml_model.author = "我的团队"
coreml_model.short_description = "10类物体分类器"
coreml_model.version = "1.0"

# 保存模型文件
coreml_model.save("ImageClassifier.mlmodel")
# 将 PyTorch 模型转换为 Core ML 格式(通过 ONNX)
import torch
import coremltools as ct
class MyModel(torch.nn.Module):
def __init__(self):
super().__init__()
self.conv1 = torch.nn.Conv2d(3, 16, kernel_size=3, padding=1)
self.fc = torch.nn.Linear(16 * 112 * 112, 5)
def forward(self, x):
x = torch.relu(self.conv1(x))
x = torch.max_pool2d(x, 2)
x = x.view(x.size(0), -1)
x = self.fc(x)
return x
# 导出为 ONNX
pytorch_model = MyModel()
dummy_input = torch.randn(1, 3, 224, 224)
torch.onnx.export(
pytorch_model,
dummy_input,
"model.onnx",
input_names=["input"],
output_names=["output"],
dynamic_axes=None
)
# 从 ONNX 转换为 Core ML
coreml_model = ct.converters.onnx.convert(
model="model.onnx",
minimum_ios_deployment_target="14",
image_input_names=["input"]
)
coreml_model.save("MyPyTorchModel.mlmodel")# 转换后验证模型的正确性
import numpy as np
import coremltools as ct
# 加载转换后的模型
model = ct.models.MLModel("ImageClassifier.mlmodel")
# 生成随机测试输入
test_input = np.random.rand(1, 224, 224, 3).astype(np.float32)
# 用 Core ML 模型预测
coreml_prediction = model.predict({"image": test_input})
# 对比原始框架的输出
# keras_prediction = tf_model.predict(test_input)
# 比较两者的差异
# assert np.allclose(coreml_prediction, keras_prediction, atol=1e-4)
print("预测结果:", coreml_prediction)最佳实践
- 转换前先用
coremltools.utils.evaluate_classifier验证模型输出的数值一致性,确保转换没有引入精度损失 - 使用
ct.compute_unit.设置指定计算后端,在转换时就明确模型的目标硬件 - PyTorch 模型转换时注意
dynamic_axes的处理,Core ML 目前对动态维度支持有限 - 如果转换失败,先用 ONNX Runtime 验证 ONNX 模型本身的正确性,排除训练框架的问题
- 保存转换日志,记录每次转换的
coremltools版本和参数,方便问题追溯
还有什么值得关注
coremltools4.0 开始支持直接从 PyTorch 转换(不需要经过 ONNX 中间步骤),但部分复杂算子仍需 ONNX 路径- Session 提到了模型量化(quantization)工具,可以在转换后对模型做 8-bit 或 16-bit 量化,大幅减小模型体积
- 对于 NLP 模型,新的转换器支持将 word embedding 和 BERT 类模型直接转换,这是之前版本的痛点