Mac Catalyst 新增功能
What's new in Mac Catalyst
2020年6月24日
一句话判断
macOS Big Sur 的 Mac Catalyst 终于可以做到”看不出是 Catalyst App”了——原生的窗口工具栏、侧边栏、右键菜单、以及可选的 AppKit 控件,让你的 iPad App 在 Mac 上获得真正的桌面体验。
这场 Session 讲了什么
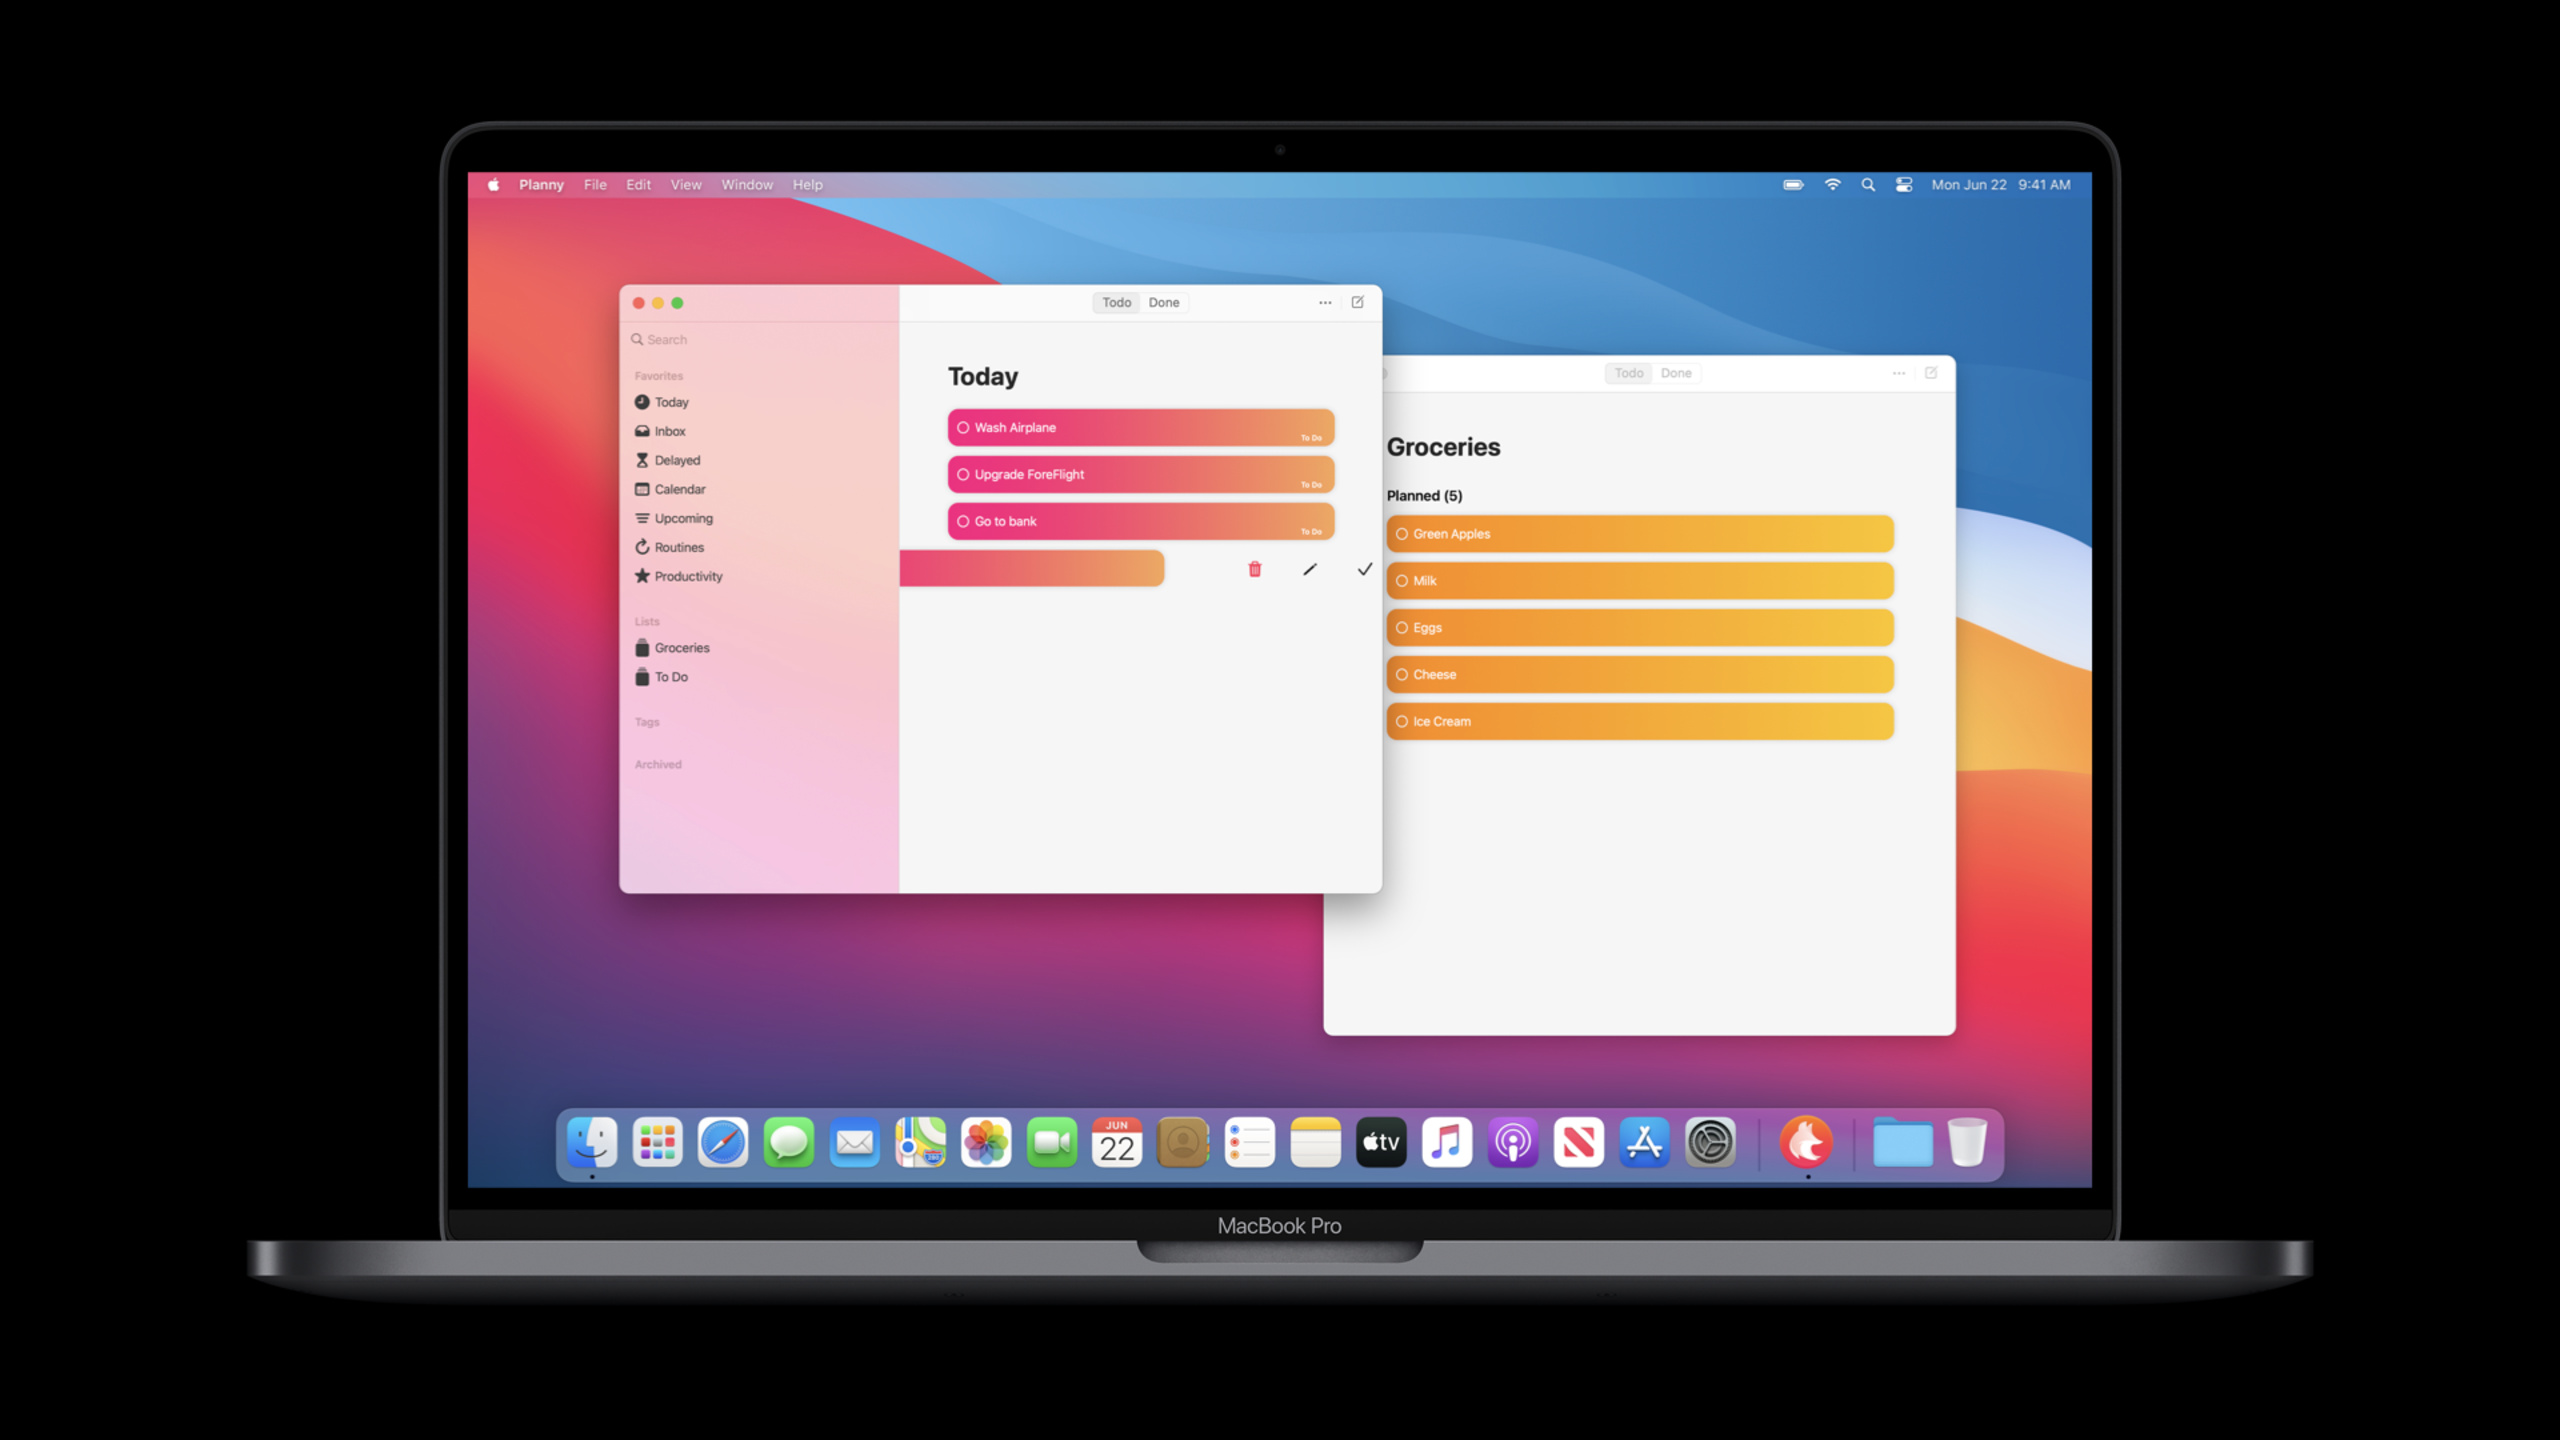
Mac Catalyst 在 macOS Big Sur 中获得了重大更新。Session 介绍了三个层次的改进。第一,视觉更新:Catalyst App 自动获得 Big Sur 的全新外观,包括圆角窗口、更新的控件样式、和统一的工具栏。第二,功能更新:UISplitViewController 的侧边栏模式在 Catalyst 中自动映射为 macOS 的全高侧边栏;UIContextMenu 映射为 macOS 的标准右键菜单。第三,API 桥接:新增了 UIButton.configuration、UIToolbar 的标准化支持、以及可选的 NSBox 和 NSSlider 原生控件替换。
最令人兴奋的是,Apple 终于允许开发者在 Mac Catalyst App 中直接使用 AppKit 控件。通过 NSViewRepresentable(类似 SwiftUI 的桥接方式),你可以在 UIKit 视图层级中嵌入原生的 AppKit 控件,比如 NSColorWell(颜色选择器)、NSSlider(滑块)等。
值得深挖的点
原生 AppKit 控件嵌入
这是 Mac Catalyst 开发者最期待的功能。过去 Catalyst App 的所有 UI 都是基于 UIKit 渲染的,看起来”不太像 Mac”。现在你可以在关键位置嵌入真正的 AppKit 控件。比如设置页面的颜色选择器用 NSColorWell,调整面板用 NSSlider,文本编辑用 NSTextView。这些控件的行为和外观与原生 Mac App 完全一致。
侧边栏和工具栏的自动映射
macOS Big Sur 中,当你在 Catalyst App 里使用 UISplitViewController 并设置 preferredDisplayMode = .primarySidebar 时,它会在 Mac 上自动呈现为 Finder 风格的全高侧边栏。UIToolbar 会自动映射为 macOS 的统一工具栏样式。你不需要写任何 Mac 特定的代码。
代码片段
在 Catalyst 中嵌入 AppKit 控件
场景:在设置页面中嵌入原生的颜色选择器。
import UIKit

#if targetEnvironment(macCatalyst)
import AppKit

// 桥接 NSColorWell 到 UIKit
class NativeColorWell: UIView {
    private var colorWell: NSColorWell?

    var selectedColor: UIColor = .blue {
        didSet {
            updateNSColor()
        }
    }

    var onColorChanged: ((UIColor) -> Void)?

    override init(frame: CGRect) {
        super.init(frame: frame)
        setupColorWell()
    }

    required init?(coder: NSCoder) {
        super.init(coder: coder)
        setupColorWell()
    }

    private func setupColorWell() {
        // 创建原生的 NSColorWell
        let colorWell = NSColorWell()
        colorWell.target = self
        colorWell.action = #selector(colorDidChange)
        colorWell.color = NSColor(selectedColor)

        // 将 NSView 添加到 UIView 层级
        let hostingView = colorWell.asUIView()
        hostingView.frame = bounds
        hostingView.autoresizingMask = [.flexibleWidth, .flexibleHeight]
        addSubview(hostingView)

        self.colorWell = colorWell
    }

    @objc private func colorDidChange(_ sender: NSColorWell) {
        let uiColor = sender.color.asUIColor()
        selectedColor = uiColor
        onColorChanged?(uiColor)
    }

    private func updateNSColor() {
        colorWell?.color = NSColor(selectedColor)
    }
}

// NSColor 到 UIColor 的转换
extension NSColor {
    func asUIColor() -> UIColor {
        return UIColor(cgColor: self.cgColor) ?? .black
    }
}

extension UIColor {
    func asNSColor() -> NSColor {
        return NSColor(cgColor: self.cgColor) ?? .black
    }
}

#endif
配置 Big Sur 风格的工具栏和侧边栏
场景:在 Catalyst App 中创建原生的三栏布局。
import UIKit

#if targetEnvironment(macCatalyst)

class MacStyleSplitViewController: UISplitViewController {

    override func viewDidLoad() {
        super.viewDidLoad()
        configureMacLayout()
    }

    private func configureMacLayout() {
        // 使用 Big Sur 的三栏布局
        preferredDisplayMode = .twoBesideSecondary
        preferredSplitBehavior = .tile  // 并排显示

        // 侧边栏使用材质背景
        primaryBackgroundStyle = .sidebar

        // 创建视图控制器
        let sidebarVC = createSidebar()
        let listVC = createList()
        let detailVC = createDetail()

        setViewController([
            UINavigationController(rootViewController: sidebarVC),
            UINavigationController(rootViewController: listVC),
            UINavigationController(rootViewController: detailVC)
        ])
    }

    private func createSidebar() -> UIViewController {
        let vc = UIViewController()
        vc.title = "导航"

        // 侧边栏的标题会显示在工具栏中
        vc.navigationItem.title = "我的 App"

        return vc
    }

    private func createList() -> UIViewController {
        let vc = UIViewController()
        vc.title = "列表"
        return vc
    }

    private func createDetail() -> UIViewController {
        let vc = UIViewController()
        vc.title = "详情"

        // 配置工具栏
        vc.navigationItem.title = "内容"

        let flexibleSpace = UIBarButtonItem(barButtonSystemItem: .flexibleSpace, target: nil, action: nil)
        let shareButton = UIBarButtonItem(barButtonSystemItem: .action, target: self, action: #selector(shareTapped))

        vc.toolbarItems = [flexibleSpace, shareButton]

        return vc
    }

    @objc private func shareTapped() {
        // 分享操作
    }
}

#endif
配置窗口外观
场景:让 Catalyst App 的窗口样式更原生。
import UIKit

#if targetEnvironment(macCatalyst)

class MacWindowConfigurator {

    static func configure(windowScene: UIWindowScene) {
        // 配置标题栏样式
        if let titlebar = windowScene.titlebar {
            // 标题栏透明(与工具栏融合)
            titlebar.titleVisibility = .hidden
            titlebar.toolbar = nil

            // 允许用户通过拖拽标题栏来移动窗口
            titlebar.titleVisibility = .visible
        }
    }

    // 在 SceneDelegate 中调用
    func scene(_ scene: UIScene,
               willConnectTo session: UISceneSession,
               options connectionOptions: UIScene.ConnectionOptions) {
        guard let windowScene = scene as? UIWindowScene else { return }

        MacWindowConfigurator.configure(windowScene: windowScene)

        let window = UIWindow(windowScene: windowScene)
        window.rootViewController = MacStyleSplitViewController()
        self.window = window
        window.makeKeyAndVisible()
    }
}

#endif
最佳实践
已有项目:如果你的 Catalyst App 看起来”不像 Mac App”,Big Sur 的更新解决了大部分问题。更新 UISplitViewController 使用 .sidebar 背景样式,配置 preferredDisplayMode 使用三栏布局。对于仍然不够原生的控件(如颜色选择器、滑块),使用 AppKit 桥接来嵌入原生版本。
新项目:从第一天就使用 Big Sur 的标准布局模式。三栏 Split View + Sidebar 背景 + Unified Toolbar 是 Mac Catalyst 的最佳实践。不要试图在 Catalyst 中模仿 iPad 的全屏布局——拥抱 Mac 的窗口化体验。
还有什么值得关注
- macOS Big Sur 的 Catalyst App 自动支持 Touch Bar(如果 Mac 有的话)。
UIContextMenu在 Catalyst 中自动映射为 macOS 的标准右键菜单。- 你可以通过
UIDevice.current.userInterfaceIdiom == .mac检测是否在 Catalyst 环境中运行。