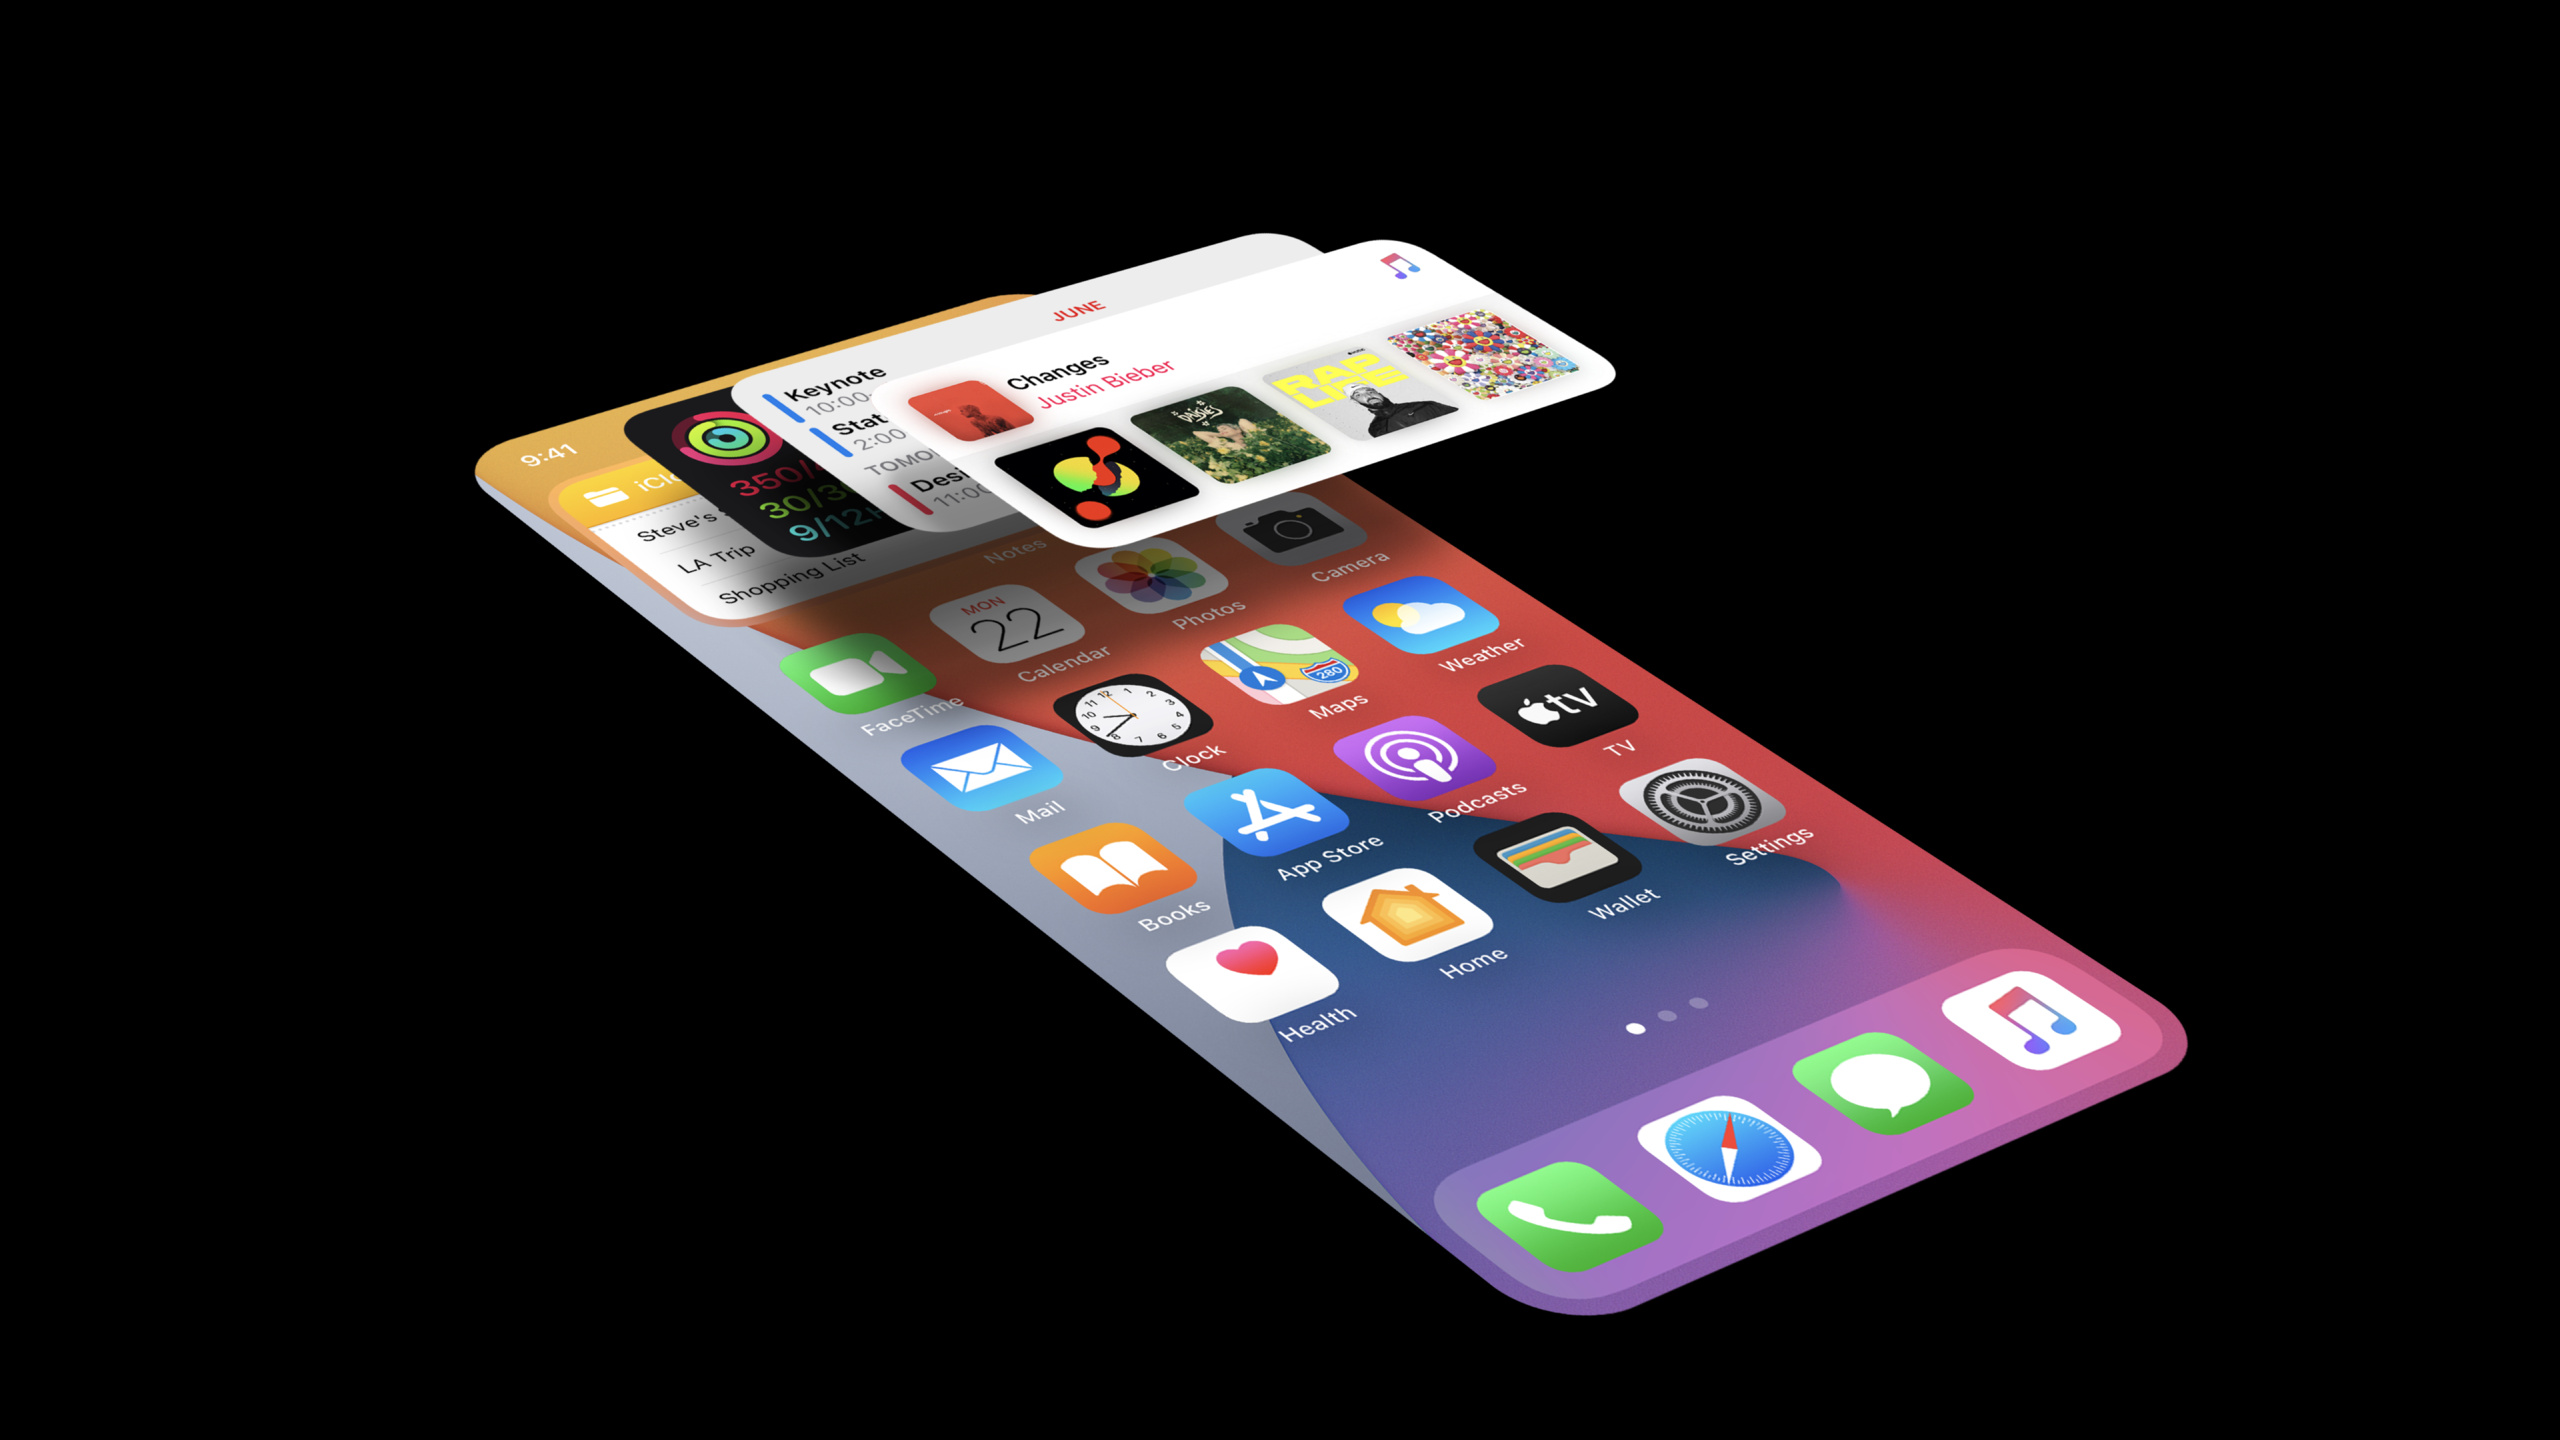
设计出色的桌面小组件
Design great widgets
2020年6月25日
一句话判断
Widget 不是迷你版 App,而是一种全新的信息呈现方式。Apple 在这个 Session 中详细讲解了 Widget 的设计原则:内容优先、多种尺寸适配、信息密度可控,是做 Widget 设计前的必读指南。
这场 Session 讲了什么
iOS 14 引入了全新的桌面小组件系统(WidgetKit),取代了之前的 Today Extension。Session 从设计角度出发,讲解了 Widget 应该呈现什么内容、如何适配不同尺寸、以及如何设计有效的交互。
Apple 定义了 Widget 的三个设计原则。第一,Glanceable(一览性):用户应该在一秒钟内获取 Widget 的核心信息。第二,Measurable(可衡量性):Widget 应该展示有意义的数据,而不是装饰性的内容。第三,Relevant(相关性):Widget 的内容应该在正确的时间展示正确的信息。Session 还详细介绍了三种尺寸(Small、Medium、Large)的设计策略,以及如何在 Widget 中使用颜色、排版和动效来传达信息。
值得深挖的点
信息架构的优先级设计
Widget 的三种尺寸对应不同的信息展示策略。Small 尺寸只能显示一个核心信息,比如当前的温度。Medium 尺寸可以显示主要信息加一个辅助信息,比如温度加上未来三小时的天气趋势。Large 尺寸可以显示更多信息层级,但仍然要保持核心信息的一览性。Apple 强调:不要试图在 Widget 中复制 App 的完整界面,而是要提炼出最有价值的信息。
时间线驱动的内容更新
Widget 的内容更新不是实时的,而是通过时间线(Timeline)预加载的。你提供一个 Timeline,包含一系列按时间排序的 Entry,系统会在对应的时间点自动切换 Widget 的显示内容。这意味着你需要预测用户在不同时间想看到的信息——比如天气 App 在早上显示今天的天气,下午显示晚上的天气,晚上显示明天的天气。
代码片段
设计 Small 尺寸的 Widget
场景:为任务管理 App 创建一个显示今日待办数量的 Small Widget。
import WidgetKit
import SwiftUI

struct TaskWidgetEntry: TimelineEntry {
    let date: Date
    let taskCount: Int
    let nextTask: String?
}

struct TaskWidgetSmallView: View {
    let entry: TaskWidgetEntry

    var body: some View {
        VStack(alignment: .leading, spacing: 4) {
            // 核心信息:待办数量
            Text("\(entry.taskCount)")
                .font(.system(size: 36, weight: .bold, design: .rounded))
                + Text(" 个待办")
                .font(.caption)
                .foregroundColor(.secondary)

            // 辅助信息:下一个任务
            if let nextTask = entry.nextTask {
                Text(nextTask)
                    .font(.caption)
                    .foregroundColor(.secondary)
                    .lineLimit(1)
            }
        }
        .padding()
        .frame(maxWidth: .infinity, maxHeight: .infinity, alignment: .topLeading)
        .background(Color(.systemBackground))
    }
}
设计 Medium 尺寸的 Widget
场景:显示天气概览和未来三小时趋势。
struct WeatherWidgetMediumView: View {
    let entry: WeatherEntry

    var body: some View {
        HStack {
            // 左侧:当前天气(核心信息)
            VStack(alignment: .leading, spacing: 2) {
                Text(entry.city)
                    .font(.caption)
                    .foregroundColor(.secondary)

                HStack(alignment: .firstTextBaseline) {
                    Text("\(entry.temperature)°")
                        .font(.system(size: 40, weight: .medium))

                    Text(entry.condition)
                        .font(.title3)
                        .foregroundColor(.secondary)
                }

                Text("最高 \(entry.high)° 最低 \(entry.low)°")
                    .font(.caption2)
                    .foregroundColor(.secondary)
            }

            Spacer()

            // 右侧:未来三小时趋势
            VStack(alignment: .trailing, spacing: 4) {
                ForEach(entry.hourlyForecast.prefix(3)) { hour in
                    HStack(spacing: 4) {
                        Text(hour.time)
                            .font(.caption2)
                        Text("\(hour.temperature)°")
                            .font(.caption2)
                            .fontWeight(.medium)
                    }
                }
            }
        }
        .padding()
    }
}
创建智能时间线
场景:根据时间动态调整 Widget 内容。
struct WeatherTimelineProvider: TimelineProvider {

    func getTimeline(in context: Context,
                     completion: @escaping (Timeline<WeatherEntry>) -> Void) {
        // 获取天气预报数据
        WeatherService.fetchForecast { forecast in
            var entries: [WeatherEntry] = []

            let now = Date()
            let calendar = Calendar.current
            let hour = calendar.component(.hour, from: now)

            // 为接下来的 12 小时创建条目
            for hourOffset in 0..<12 {
                let entryDate = calendar.date(byAdding: .hour,
                                               value: hourOffset,
                                               to: now)!

                let hourlyData = forecast.hourly[hourOffset]
                let entry = WeatherEntry(
                    date: entryDate,
                    city: forecast.city,
                    temperature: hourlyData.temperature,
                    condition: hourlyData.condition,
                    high: forecast.todayHigh,
                    low: forecast.todayLow,
                    hourlyForecast: Array(forecast.hourly[hourOffset..<min(hourOffset+3, forecast.hourly.count)])
                )
                entries.append(entry)
            }

            // 下一次更新时间:12 小时后
            let nextUpdate = calendar.date(byAdding: .hour, value: 12, to: now)!
            let timeline = Timeline(entries: entries, policy: .after(nextUpdate))
            completion(timeline)
        }
    }
}
使用 Widget 配置让用户自定义内容
场景:支持用户选择 Widget 显示的城市。
// 在 Widget Configuration 中添加自定义选项
@main
struct WeatherWidgets: WidgetBundle {
    @WidgetBundleBuilder
    var body: some Widget {
        WeatherWidget()           // 单城市 Widget
        WeatherMultiCityWidget()  // 多城市 Widget
    }
}

struct WeatherWidget: Widget {
    let kind: String = "WeatherWidget"

    var body: some WidgetConfiguration {
        // 支持用户配置的 Widget
        IntentConfiguration(
            kind: kind,
            intent: CitySelectionIntent.self,  // 自定义 Intent
            provider: WeatherTimelineProvider()
        ) { entry in
            WeatherWidgetEntryView(entry: entry)
                .containerBackground(.fill, for: .widget)
        }
        .configurationDisplayName("天气")
        .description("查看当前天气和预报")
        .supportedFamilies([.systemSmall, .systemMedium, .systemLarge])
    }
}
最佳实践
已有项目:如果你的 App 有 Today Extension,迁移到 WidgetKit。Today Extension 在 iOS 14 中仍然可用但不推荐。WidgetKit 的性能更好(后台预渲染),用户体验更一致。先做 Small 尺寸,再扩展到 Medium 和 Large。
新项目:从产品设计阶段就规划 Widget。思考”用户最想一眼看到什么信息”,然后围绕这个核心信息设计 Widget。提供时间线时要考虑用户的使用节奏——早上、中午、晚上分别显示什么信息最有价值。
还有什么值得关注
- Widget 支持暗色模式,使用
@Environment(\.colorScheme)来适配。 - iOS 14 还引入了 Smart Stack(智能叠放),系统会根据用户习惯自动轮换不同 App 的 Widget。
- Widget 的刷新频率由系统控制,你只能建议刷新时间,实际刷新可能被延迟以节省电量。