探索 Action & Vision 示例应用
Explore the Action & Vision app
2020年6月25日
一句话判断
Apple 通过一个完整的健身动作追踪 App 示例,展示了如何将 Vision 框架的人体姿态检测(Body Pose)能力集成到实际产品中,是学习 Vision 框架实战应用的最佳起点。
这场 Session 讲了什么
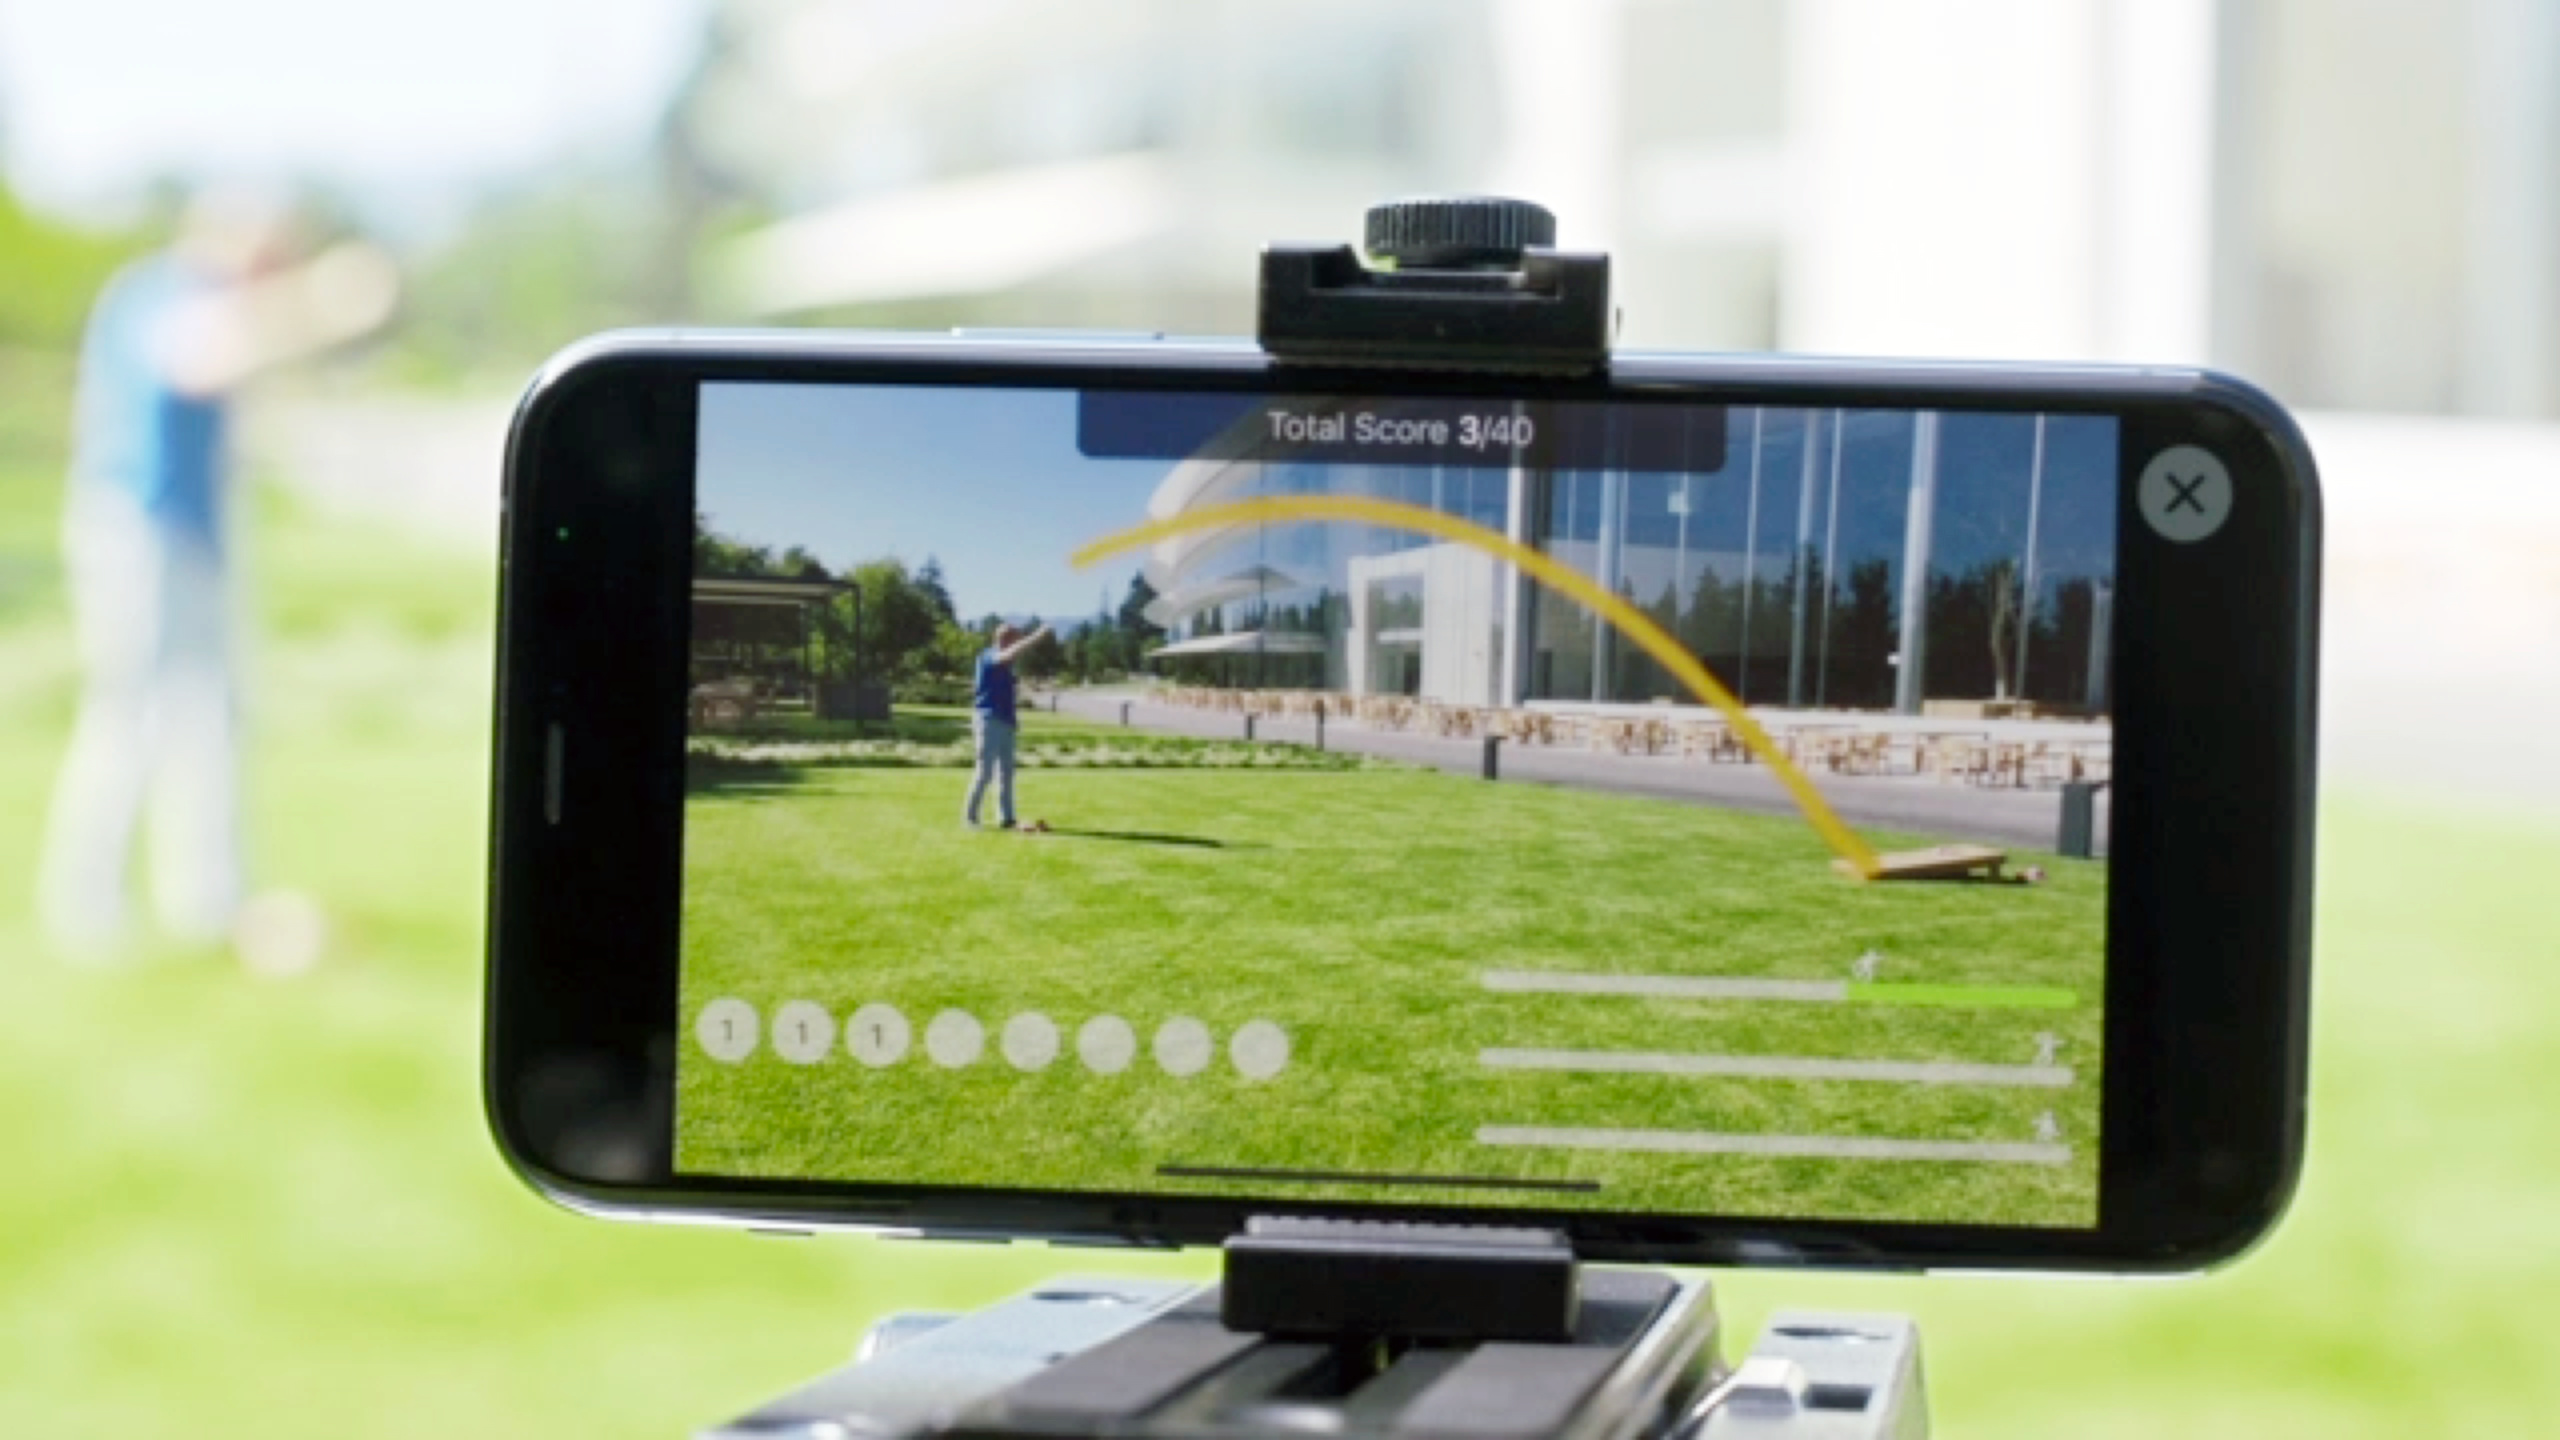
Apple 在 WWDC 2020 上发布了一个名为 “Action & Vision” 的示例 App,它使用摄像头实时追踪用户的健身动作,判断动作是否标准并给出反馈。Session 逐步拆解了这个 App 的技术实现。
核心流程分为三步。第一步,使用 VNDetectHumanBodyPoseRequest 从每一帧视频画面中提取人体骨骼关键点(包括头部、肩膀、手肘、手腕、髋关节、膝盖、脚踝等)。第二步,根据关键点坐标计算关节角度,判断用户当前的姿态(比如是否深蹲到位)。第三步,基于姿态变化序列识别完整的动作(比如一个完整的深蹲周期)。Session 还讲解了如何使用 VNSequenceRequestHandler 来高效处理连续的视频帧。
值得深挖的点
关节角度计算
人体姿态检测给出的只是一组 2D 坐标点。要判断动作是否标准,需要将这些坐标转换为有意义的物理量。Action & Vision App 的做法是计算相邻三个关节点形成的角度。比如肩膀-手肘-手腕三点形成的手臂弯曲角度。当这个角度低于某个阈值时,判断为”手臂弯曲”。这种基于角度的判断方法简单但有效,适合大多数健身动作的检测。
动作状态机
一个完整的健身动作(如深蹲)包含多个阶段:站立 -> 下蹲 -> 最低点 -> 站起。App 使用一个简单的状态机来跟踪动作的进度。每个状态定义了进入条件(比如从”站立”进入”下蹲”要求膝盖角度小于某个值)和退出条件。只有完整经历了所有状态,才算完成了一个动作。这种模式比直接判断某一帧的姿态要鲁棒得多。
代码片段
使用 Vision 检测人体姿态
场景:从摄像头帧中提取人体骨骼关键点。
import Vision
import AVFoundation

class BodyPoseDetector {
    private let request: VNDetectHumanBodyPoseRequest
    private let sequenceHandler = VNSequenceRequestHandler()

    init() {
        request = VNDetectHumanBodyPoseRequest()
        // 设置要检测的关节点
        request.bodyParts = [.all]  // 检测所有可用的关节点
    }

    // 处理每一帧画面
    func processFrame(_ sampleBuffer: CMSampleBuffer) {
        guard let pixelBuffer = CMSampleBufferGetImageBuffer(sampleBuffer) else {
            return
        }

        do {
            try sequenceHandler.perform([request], on: pixelBuffer)

            if let observation = request.results?.first {
                processObservation(observation)
            }
        } catch {
            print("姿态检测失败: \(error)")
        }
    }

    private func processObservation(_ observation: VNHumanBodyPoseObservation) {
        // 获取特定关节点的坐标
        guard let rightElbow = try? observation.recognizedPoint(.rightElbow),
              let rightWrist = try? observation.recognizedPoint(.rightWrist),
              let rightShoulder = try? observation.recognizedPoint(.rightShoulder) else {
            return
        }

        // 检查置信度
        guard rightElbow.confidence > 0.5,
              rightWrist.confidence > 0.5,
              rightShoulder.confidence > 0.5 else {
            return
        }

        // 计算手臂弯曲角度
        let angle = calculateAngle(
            point1: rightShoulder.location,
            point2: rightElbow.location,
            point3: rightWrist.location
        )

        print("右手臂角度: \(angle)°")
    }
}
计算关节角度
场景:通过三个关节点计算中间关节的弯曲角度。
import CoreGraphics

func calculateAngle(point1: CGPoint, point2: CGPoint, point3: CGPoint) -> Double {
    // point2 是中间的关节点(如手肘)
    // 计算向量 angle: point2 -> point1
    let vector1 = CGPoint(x: point1.x - point2.x, y: point1.y - point2.y)
    // 计算向量 angle: point2 -> point3
    let vector2 = CGPoint(x: point3.x - point2.x, y: point3.y - point2.y)

    // 计算点积
    let dotProduct = vector1.x * vector2.x + vector1.y * vector2.y

    // 计算模长
    let magnitude1 = sqrt(vector1.x * vector1.x + vector1.y * vector1.y)
    let magnitude2 = sqrt(vector2.x * vector2.x + vector2.y * vector2.y)

    // 计算角度(弧度)
    guard magnitude1 > 0 && magnitude2 > 0 else { return 0 }
    let cosine = dotProduct / (magnitude1 * magnitude2)
    let clampedCosine = max(-1, min(1, cosine))  // 防止浮点误差

    // 转换为角度
    let angleInDegrees = acos(clampedCosine) * 180.0 / .pi
    return angleInDegrees
}
动作状态机实现
场景:用状态机追踪深蹲动作的完整周期。
enum SquatState {
    case standing     // 站立状态
    case descending   // 下蹲中
    case bottom       // 蹲到最低点
    case ascending    // 站起中
}

class SquatCounter {
    private var state: SquatState = .standing
    private(set) var count: Int = 0

    // 膝盖角度阈值
    private let squatThreshold: Double = 90.0  // 低于 90° 算蹲到位
    private let standThreshold: Double = 160.0 // 高于 160° 算站直

    func updateWith(kneeAngle: Double) {
        switch state {
        case .standing:
            if kneeAngle < standThreshold {
                state = .descending
            }

        case .descending:
            if kneeAngle < squatThreshold {
                state = .bottom
            } else if kneeAngle > standThreshold {
                // 没蹲到位就站起来了,回到站立状态
                state = .standing
            }

        case .bottom:
            if kneeAngle > squatThreshold {
                state = .ascending
            }

        case .ascending:
            if kneeAngle > standThreshold {
                // 完成了一个完整的深蹲!
                count += 1
                state = .standing
                print("完成第 \(count) 个深蹲")
            } else if kneeAngle < squatThreshold {
                // 又蹲下去了
                state = .descending
            }
        }
    }
}
最佳实践
已有项目:如果你在做健身或运动类 App,Vision 的 Body Pose Detection 是一个值得集成的能力。先从简单的动作(如深蹲、俯卧撑)开始,验证检测准确度后再扩展到更复杂的动作。注意在后台线程执行 Vision 请求,避免阻塞 UI。
新项目:下载 Apple 的 Action & Vision 示例代码作为起点。它的架构(视频采集 -> Vision 处理 -> 状态机 -> UI 反馈)是一个很好的参考模板。对于动作检测的精度调优,建议从 confidence 阈值和角度阈值两个参数入手。
还有什么值得关注
- Vision 的 Body Pose Detection 在 A 系列 chips 的 Neural Engine 上运行,功耗和性能表现都很好。
VNDetectHumanBodyPoseRequest同时支持图片和视频帧输入。- 建议配合
AVCaptureSession的sessionPreset使用中等分辨率(如.medium),在精度和性能之间取得平衡。